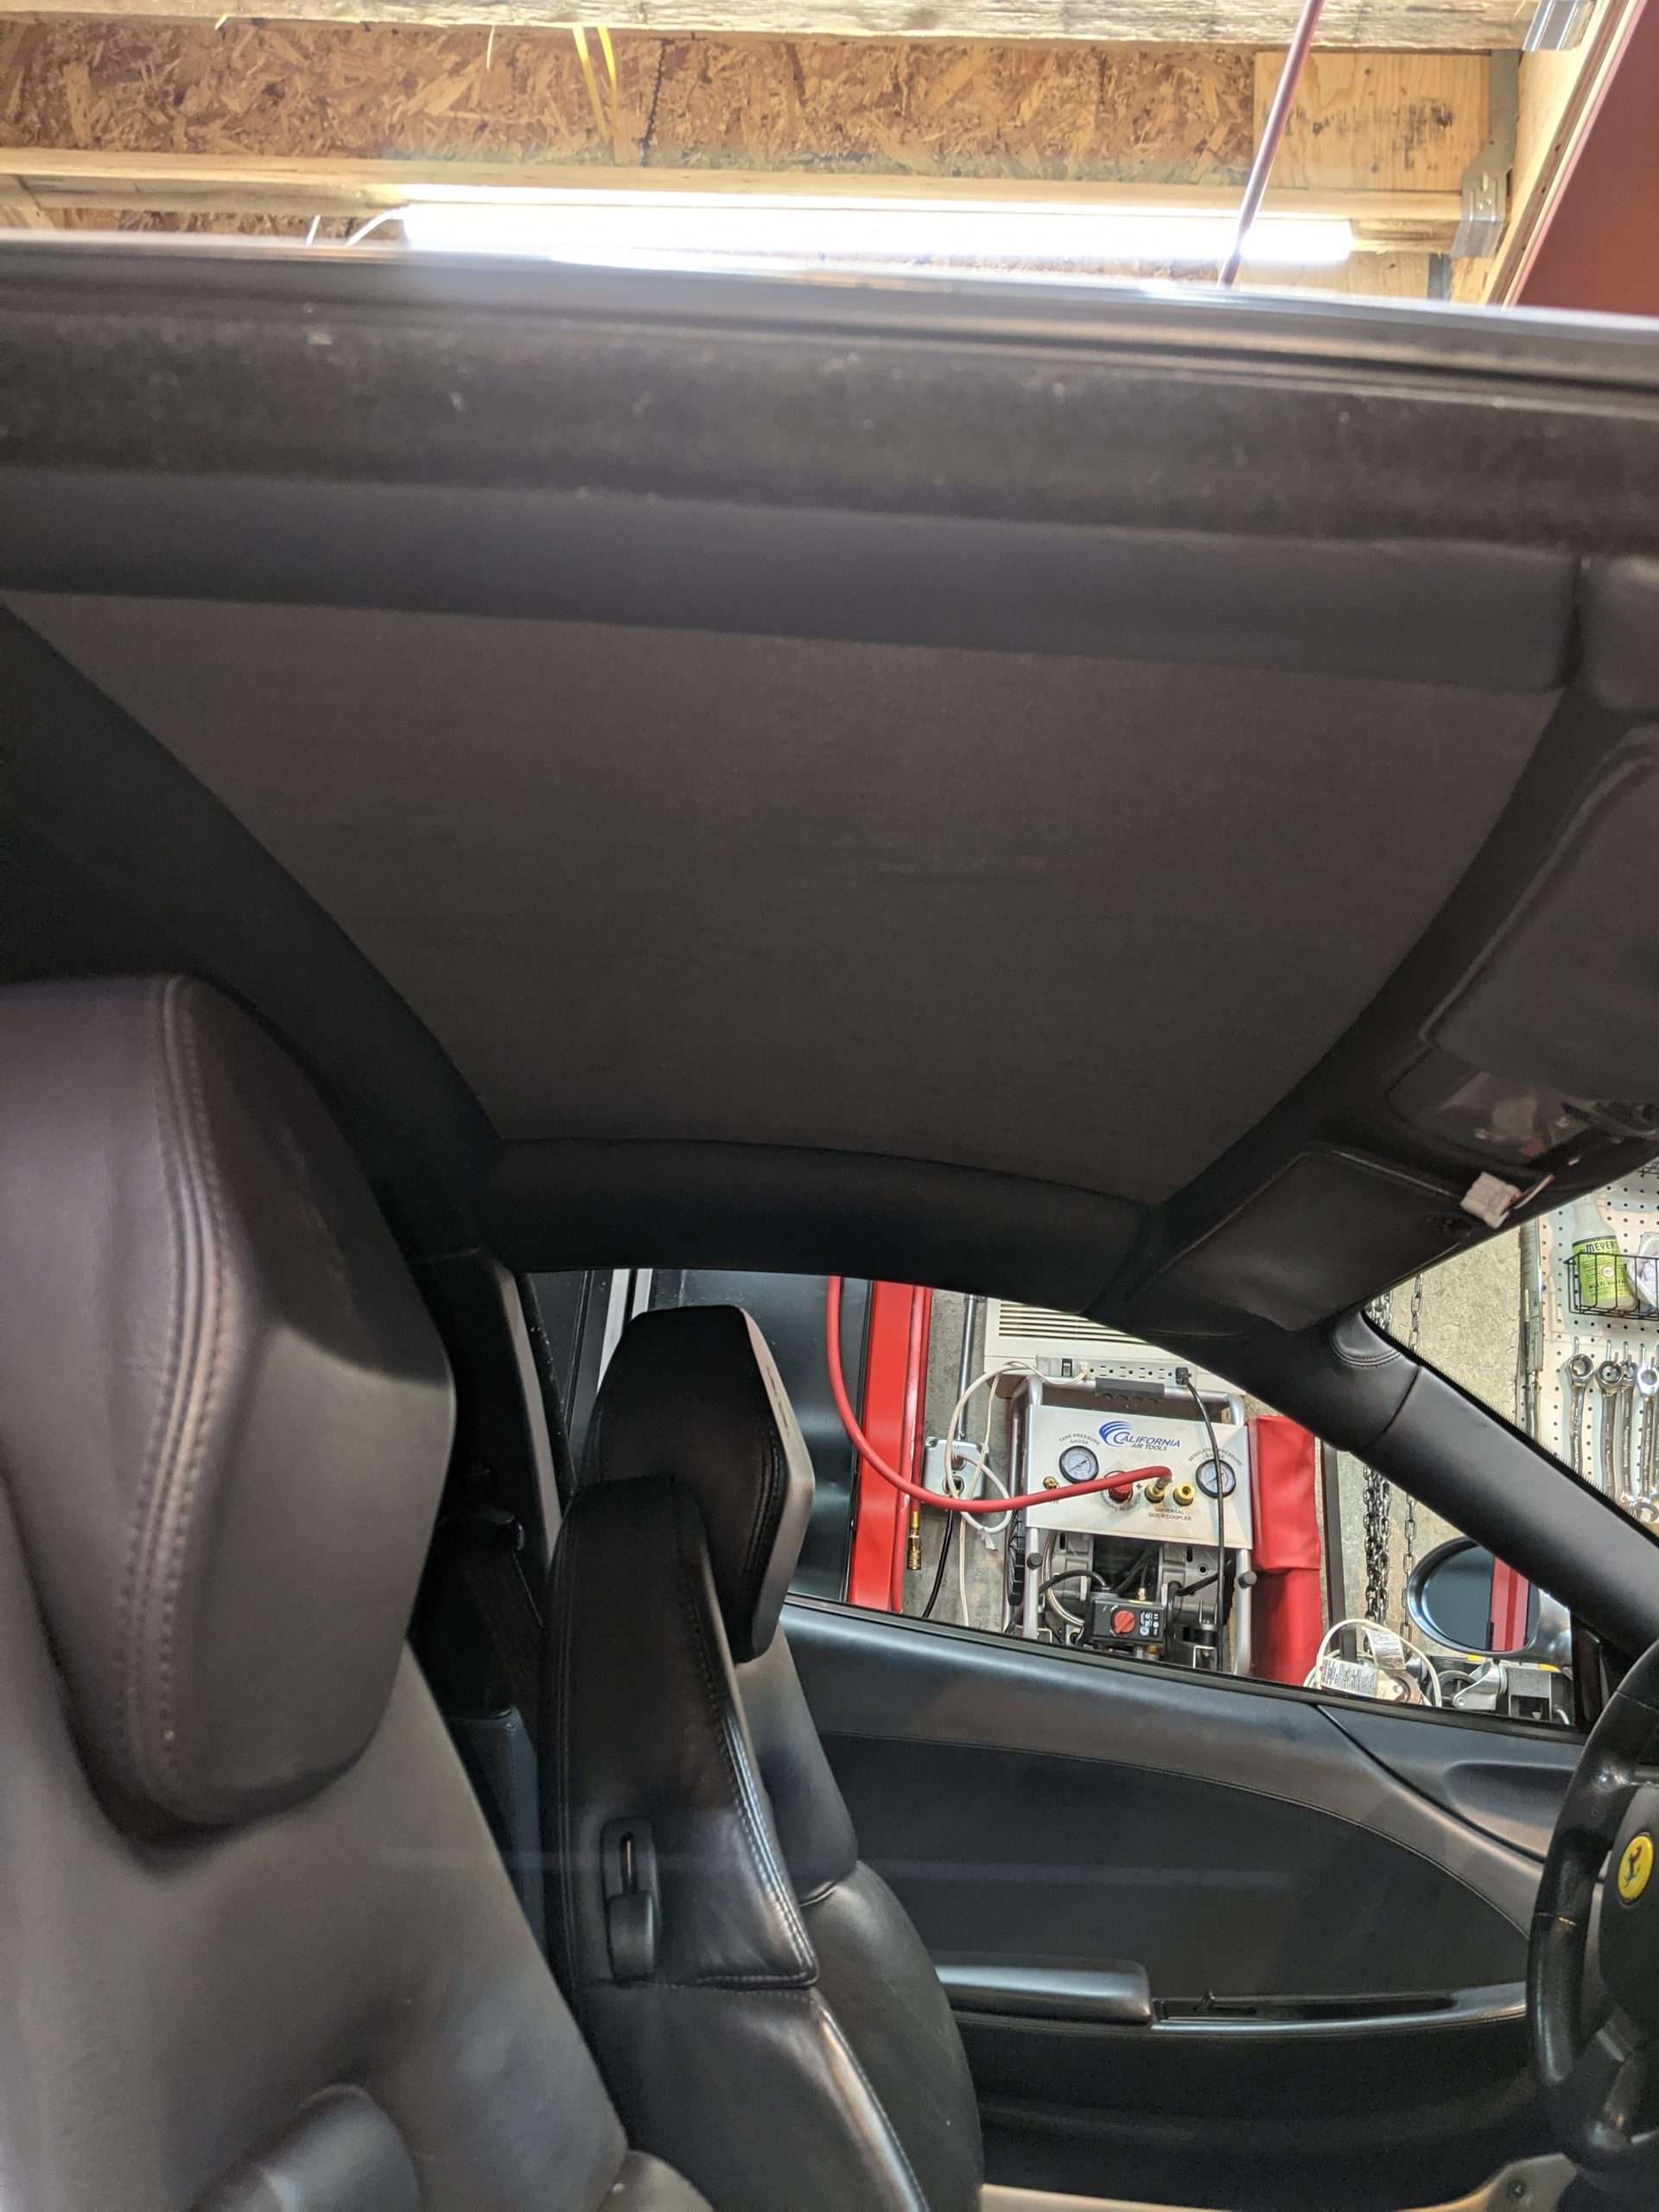
In my case, I had a cloth headliner, which I re-used after running it through the washing machine (cold, gentle cycle) to remove what was left of the old foam and glue. I left it hanging to dry and it came out looking brand new. Quite a few cars came with a leather headliner instead of cloth. That could mean that the thickness of the Dynamat and Dynaliner that I used would not work for leather. But if you have a cloth headliner, this should probably work.
You will need the following materials:
- Dynamat Self-Adhesive Sound Deadener .067″ thick
- Dynamat 1/4″ Self-Adhesive Sound Deadner foam
- A roller
The first item is thin and goes directly on the roof in sheets cut to size. The glue is very sticky and gives a nice surface that the foam glues onto. The second item is the foam. We will be cutting this foam to size, gluing the old cloth liner to it, and then attaching the foam directly to the Dynamat after removing the adhesive liner, exposing the foam’s sticky side.
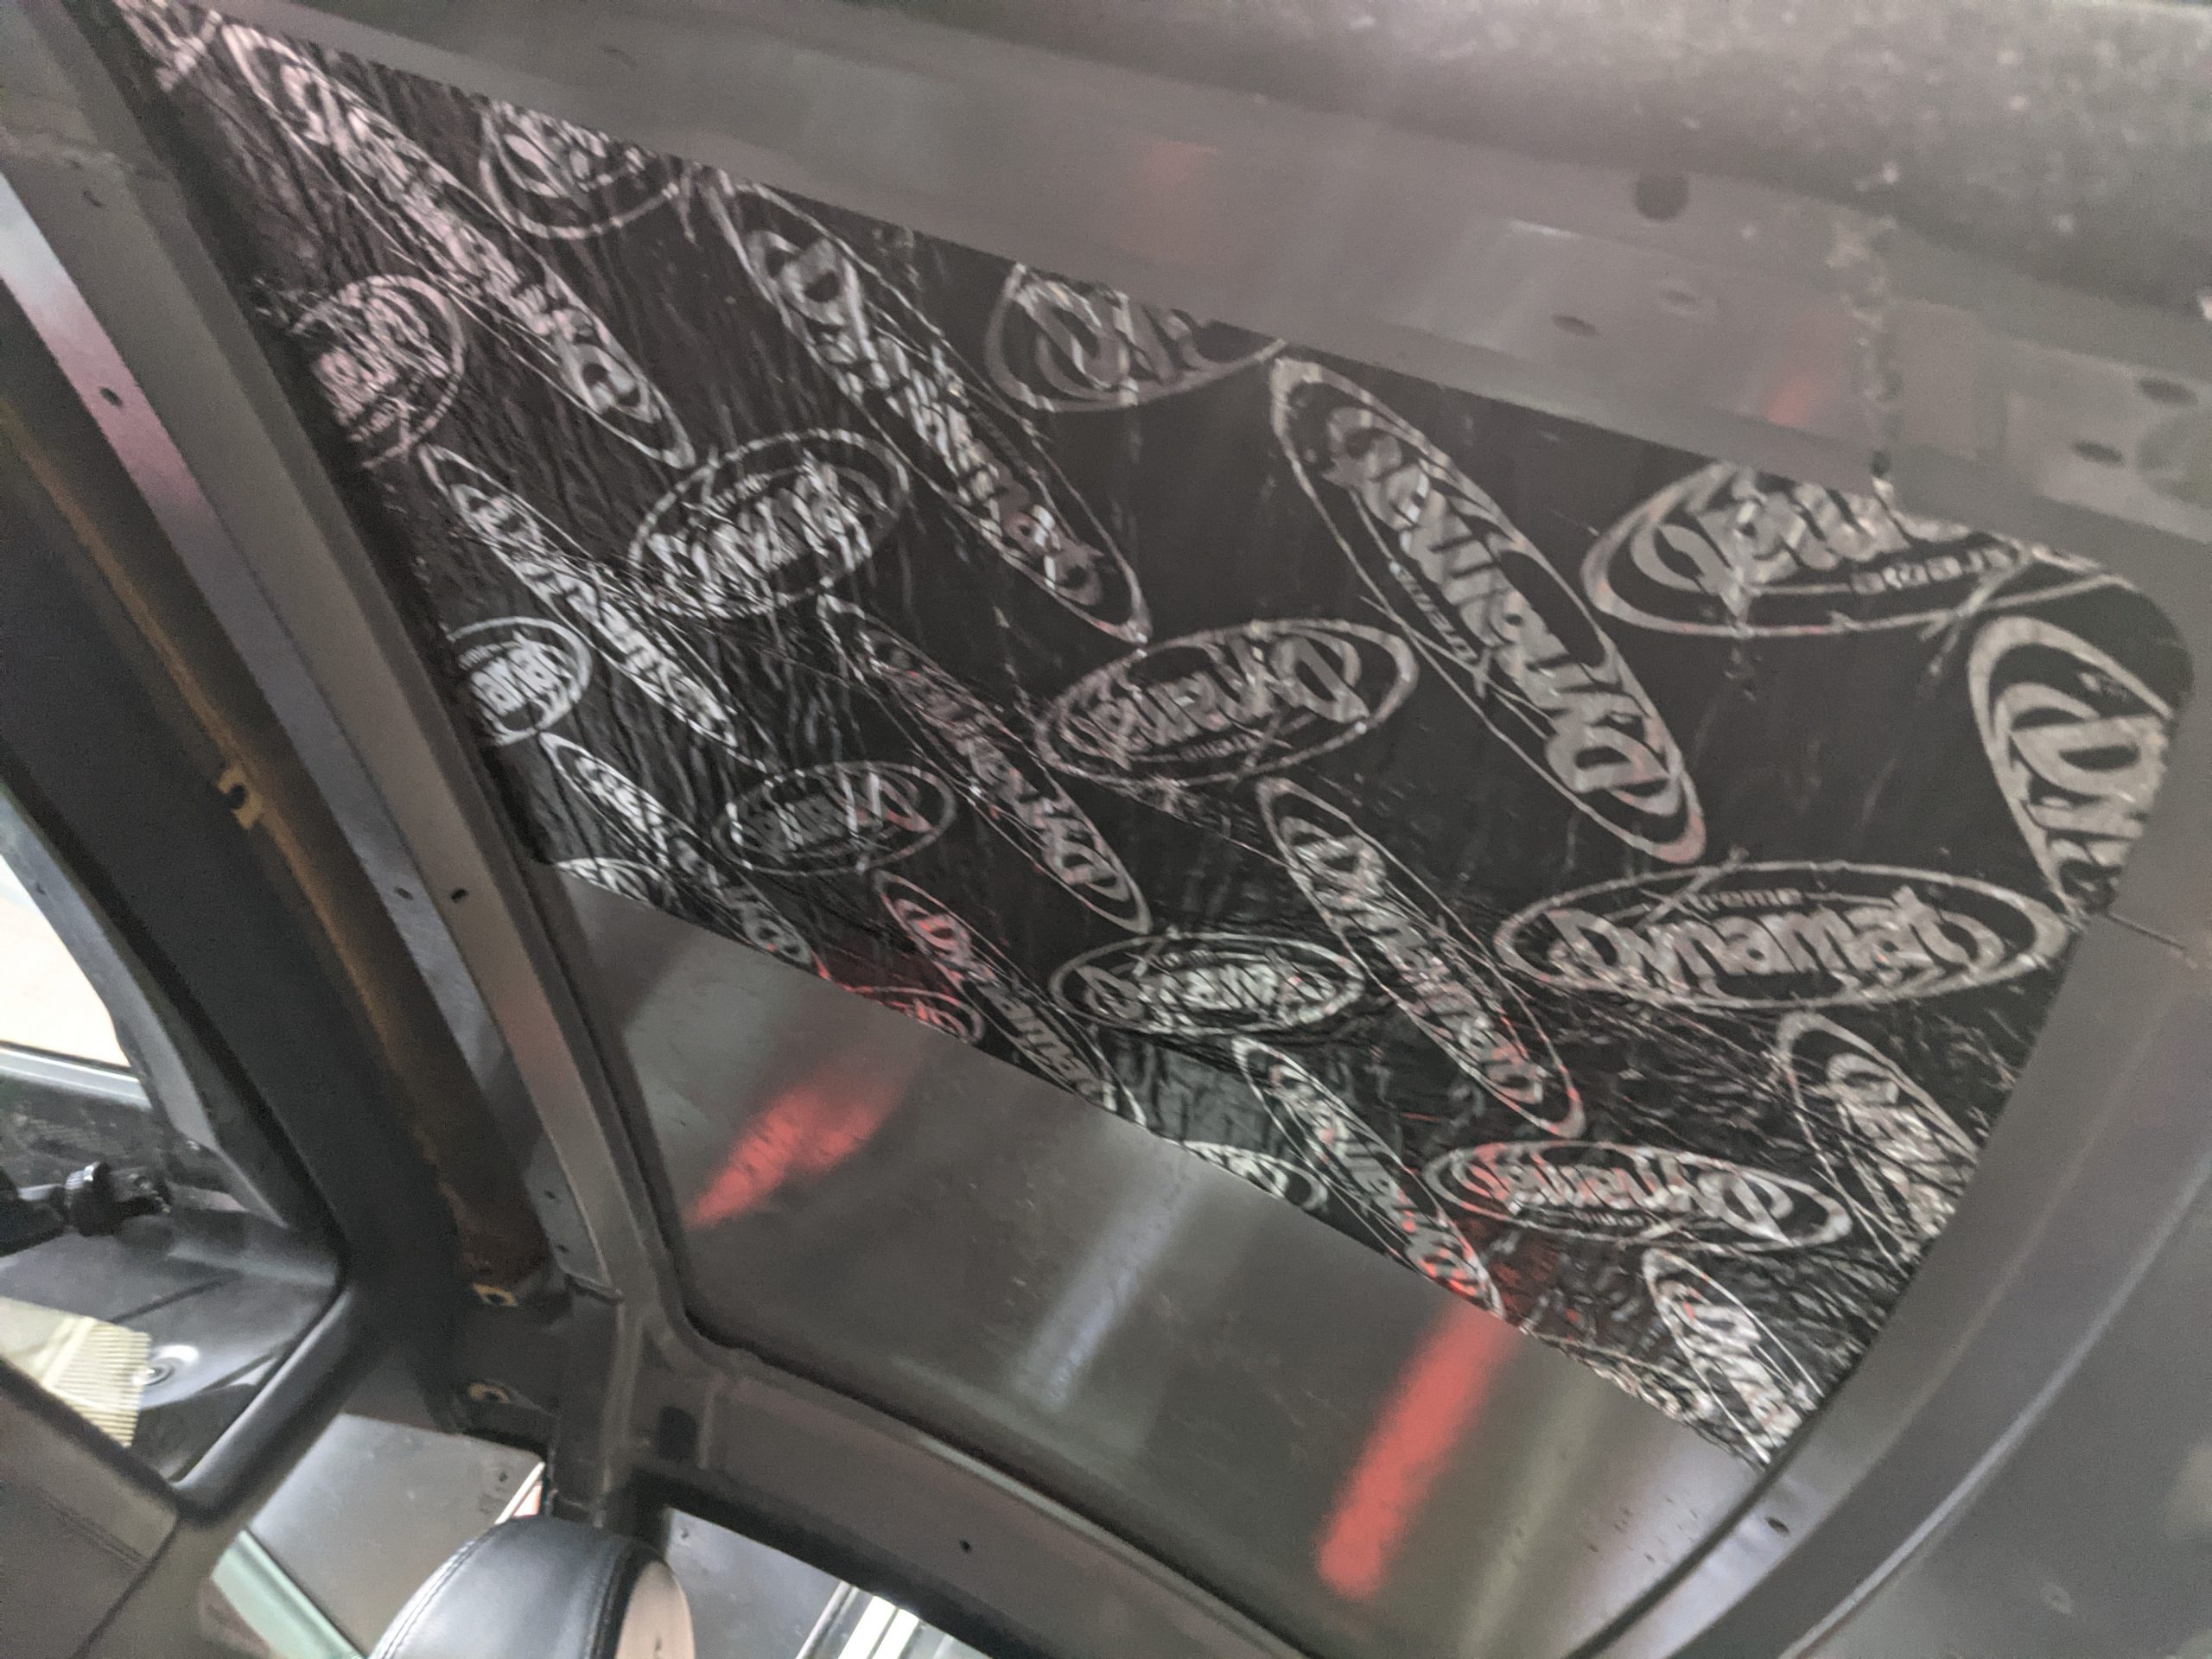
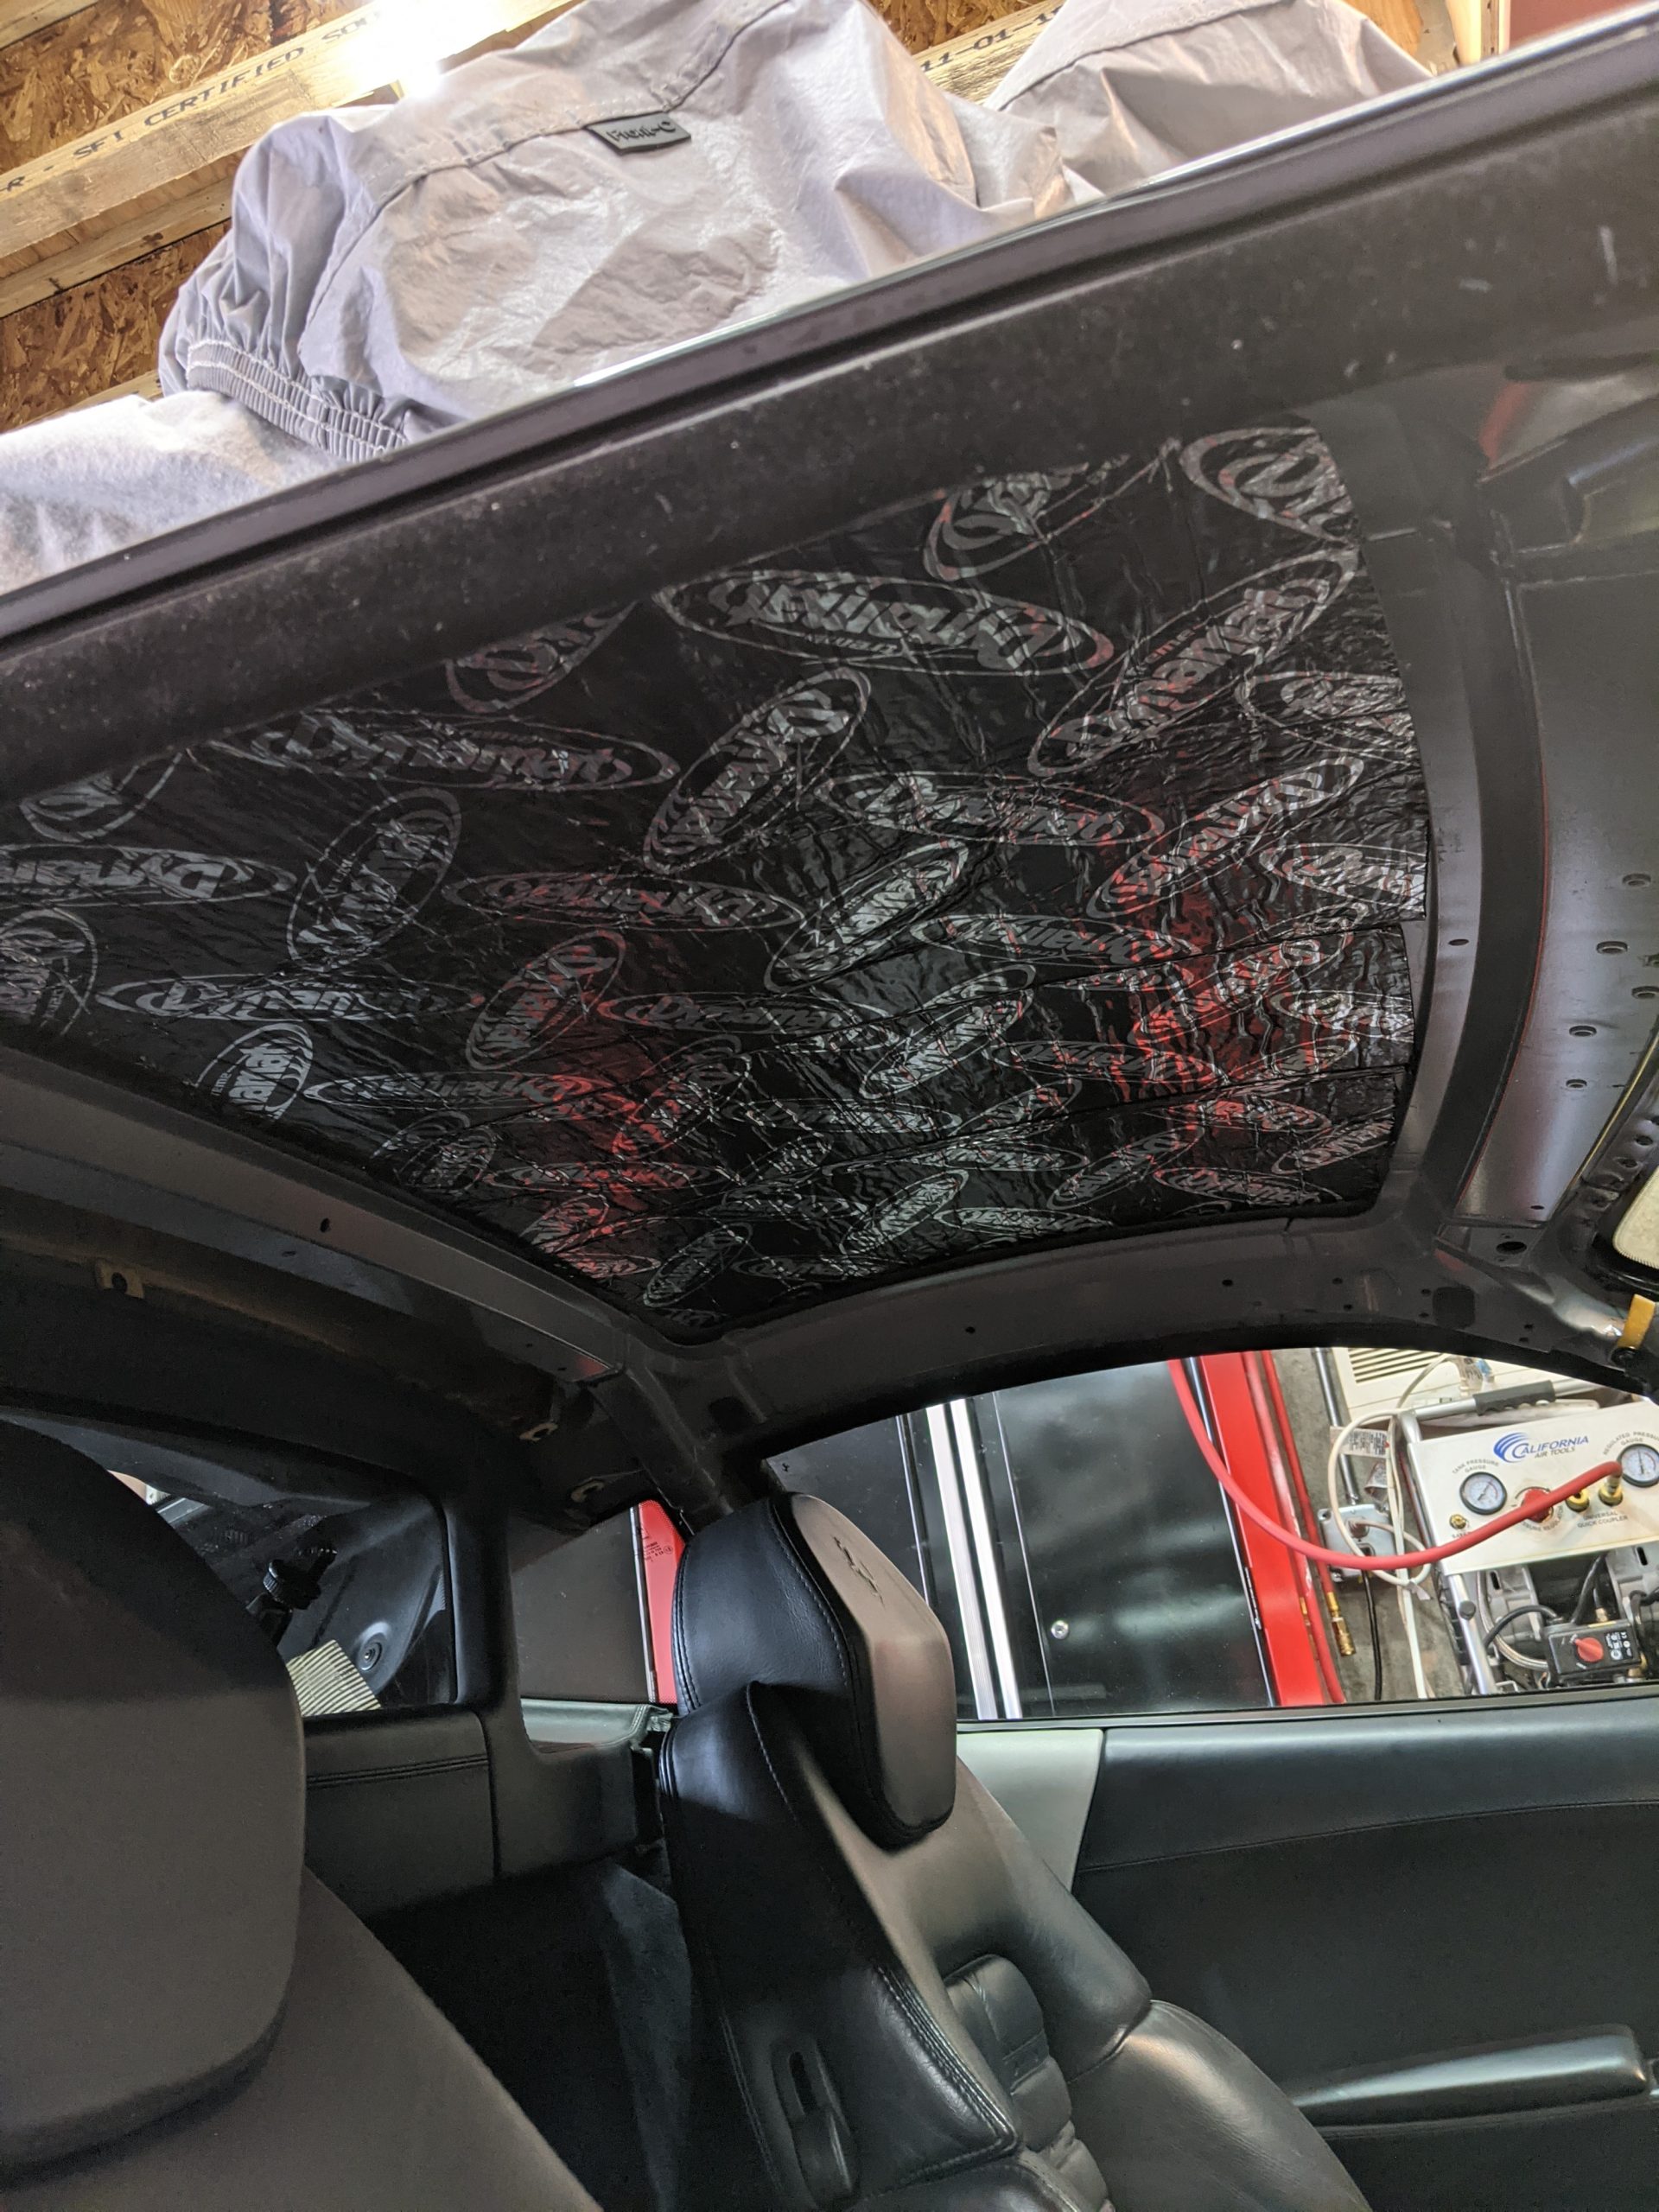
Step 1: Cut the dynamat strips to shape
Use the old headliner as a stencil to cut strips of the Dynamat. This stuff is hard to work with, so we’ll be doing it strips instead of a single piece.
Step 2: glue the strips of Dynamat onto the roof
This stuff is very sticky and angles are critical. Do one strip at a time and press it onto the roof.
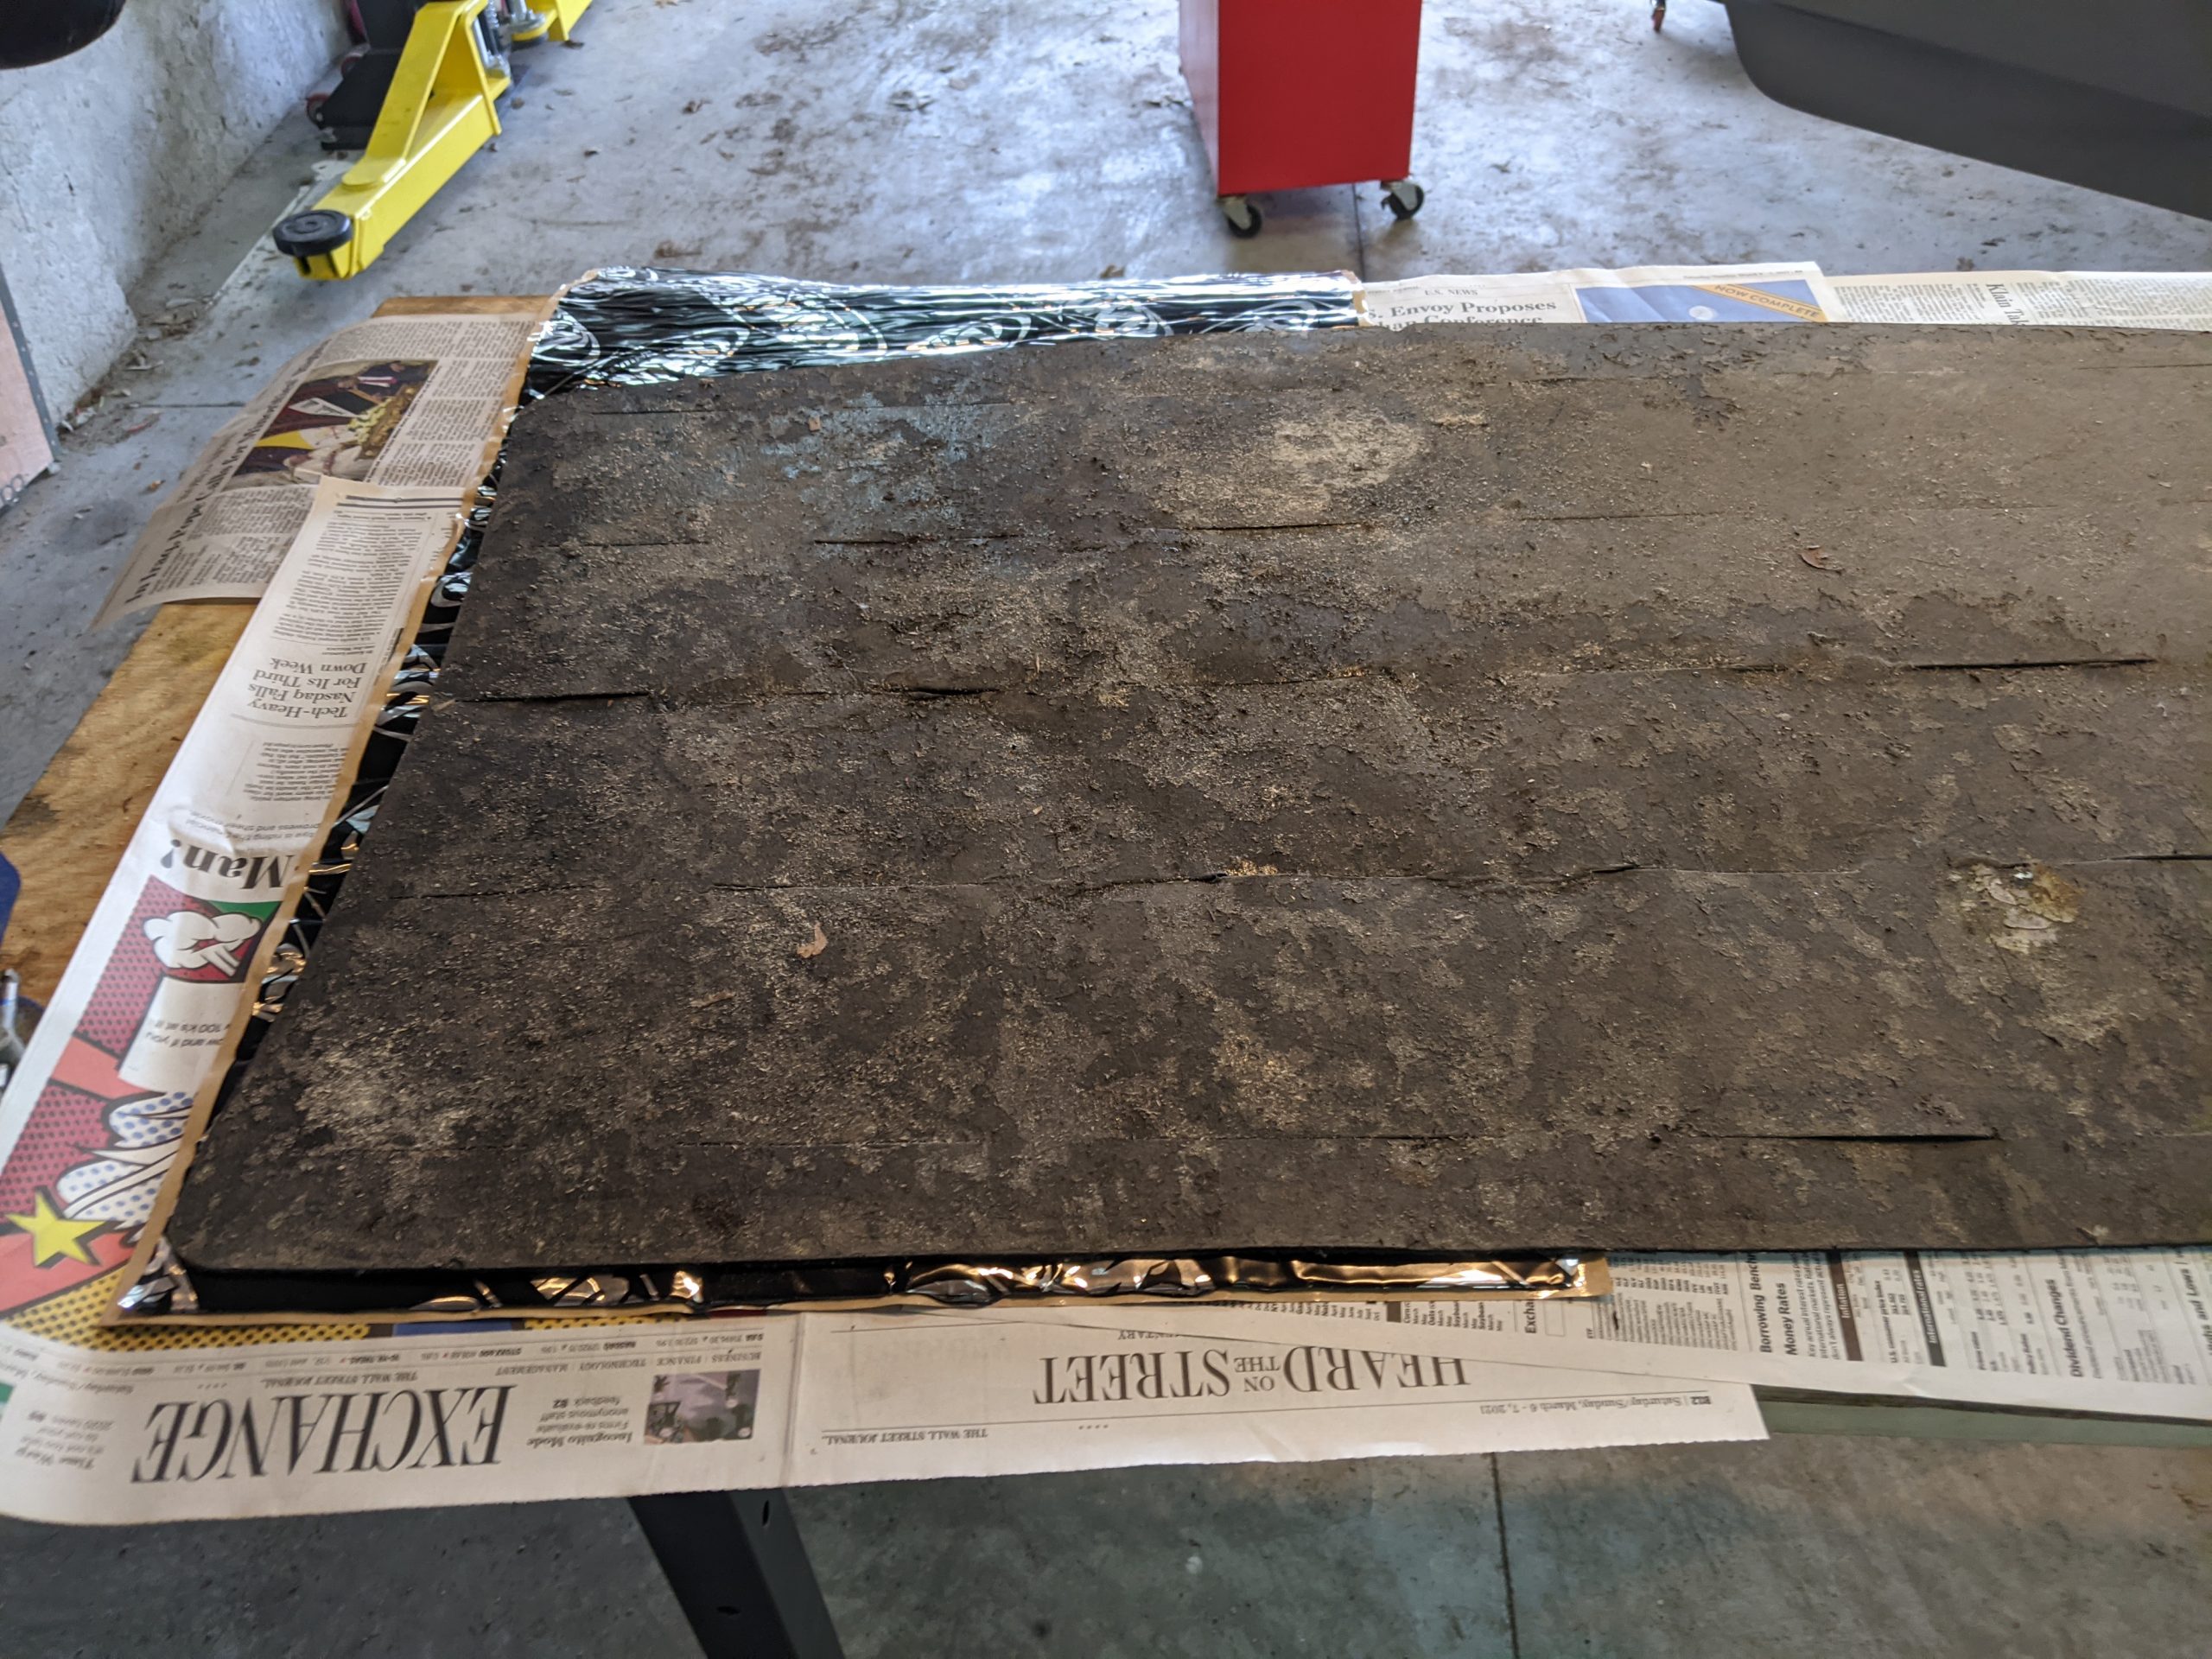
Step 3: Cut the foam to shape
My Dynamat foam needed to be flattened out using books prior to cutting it into the correct shape. The flatter the foam is when you start, the better your results.

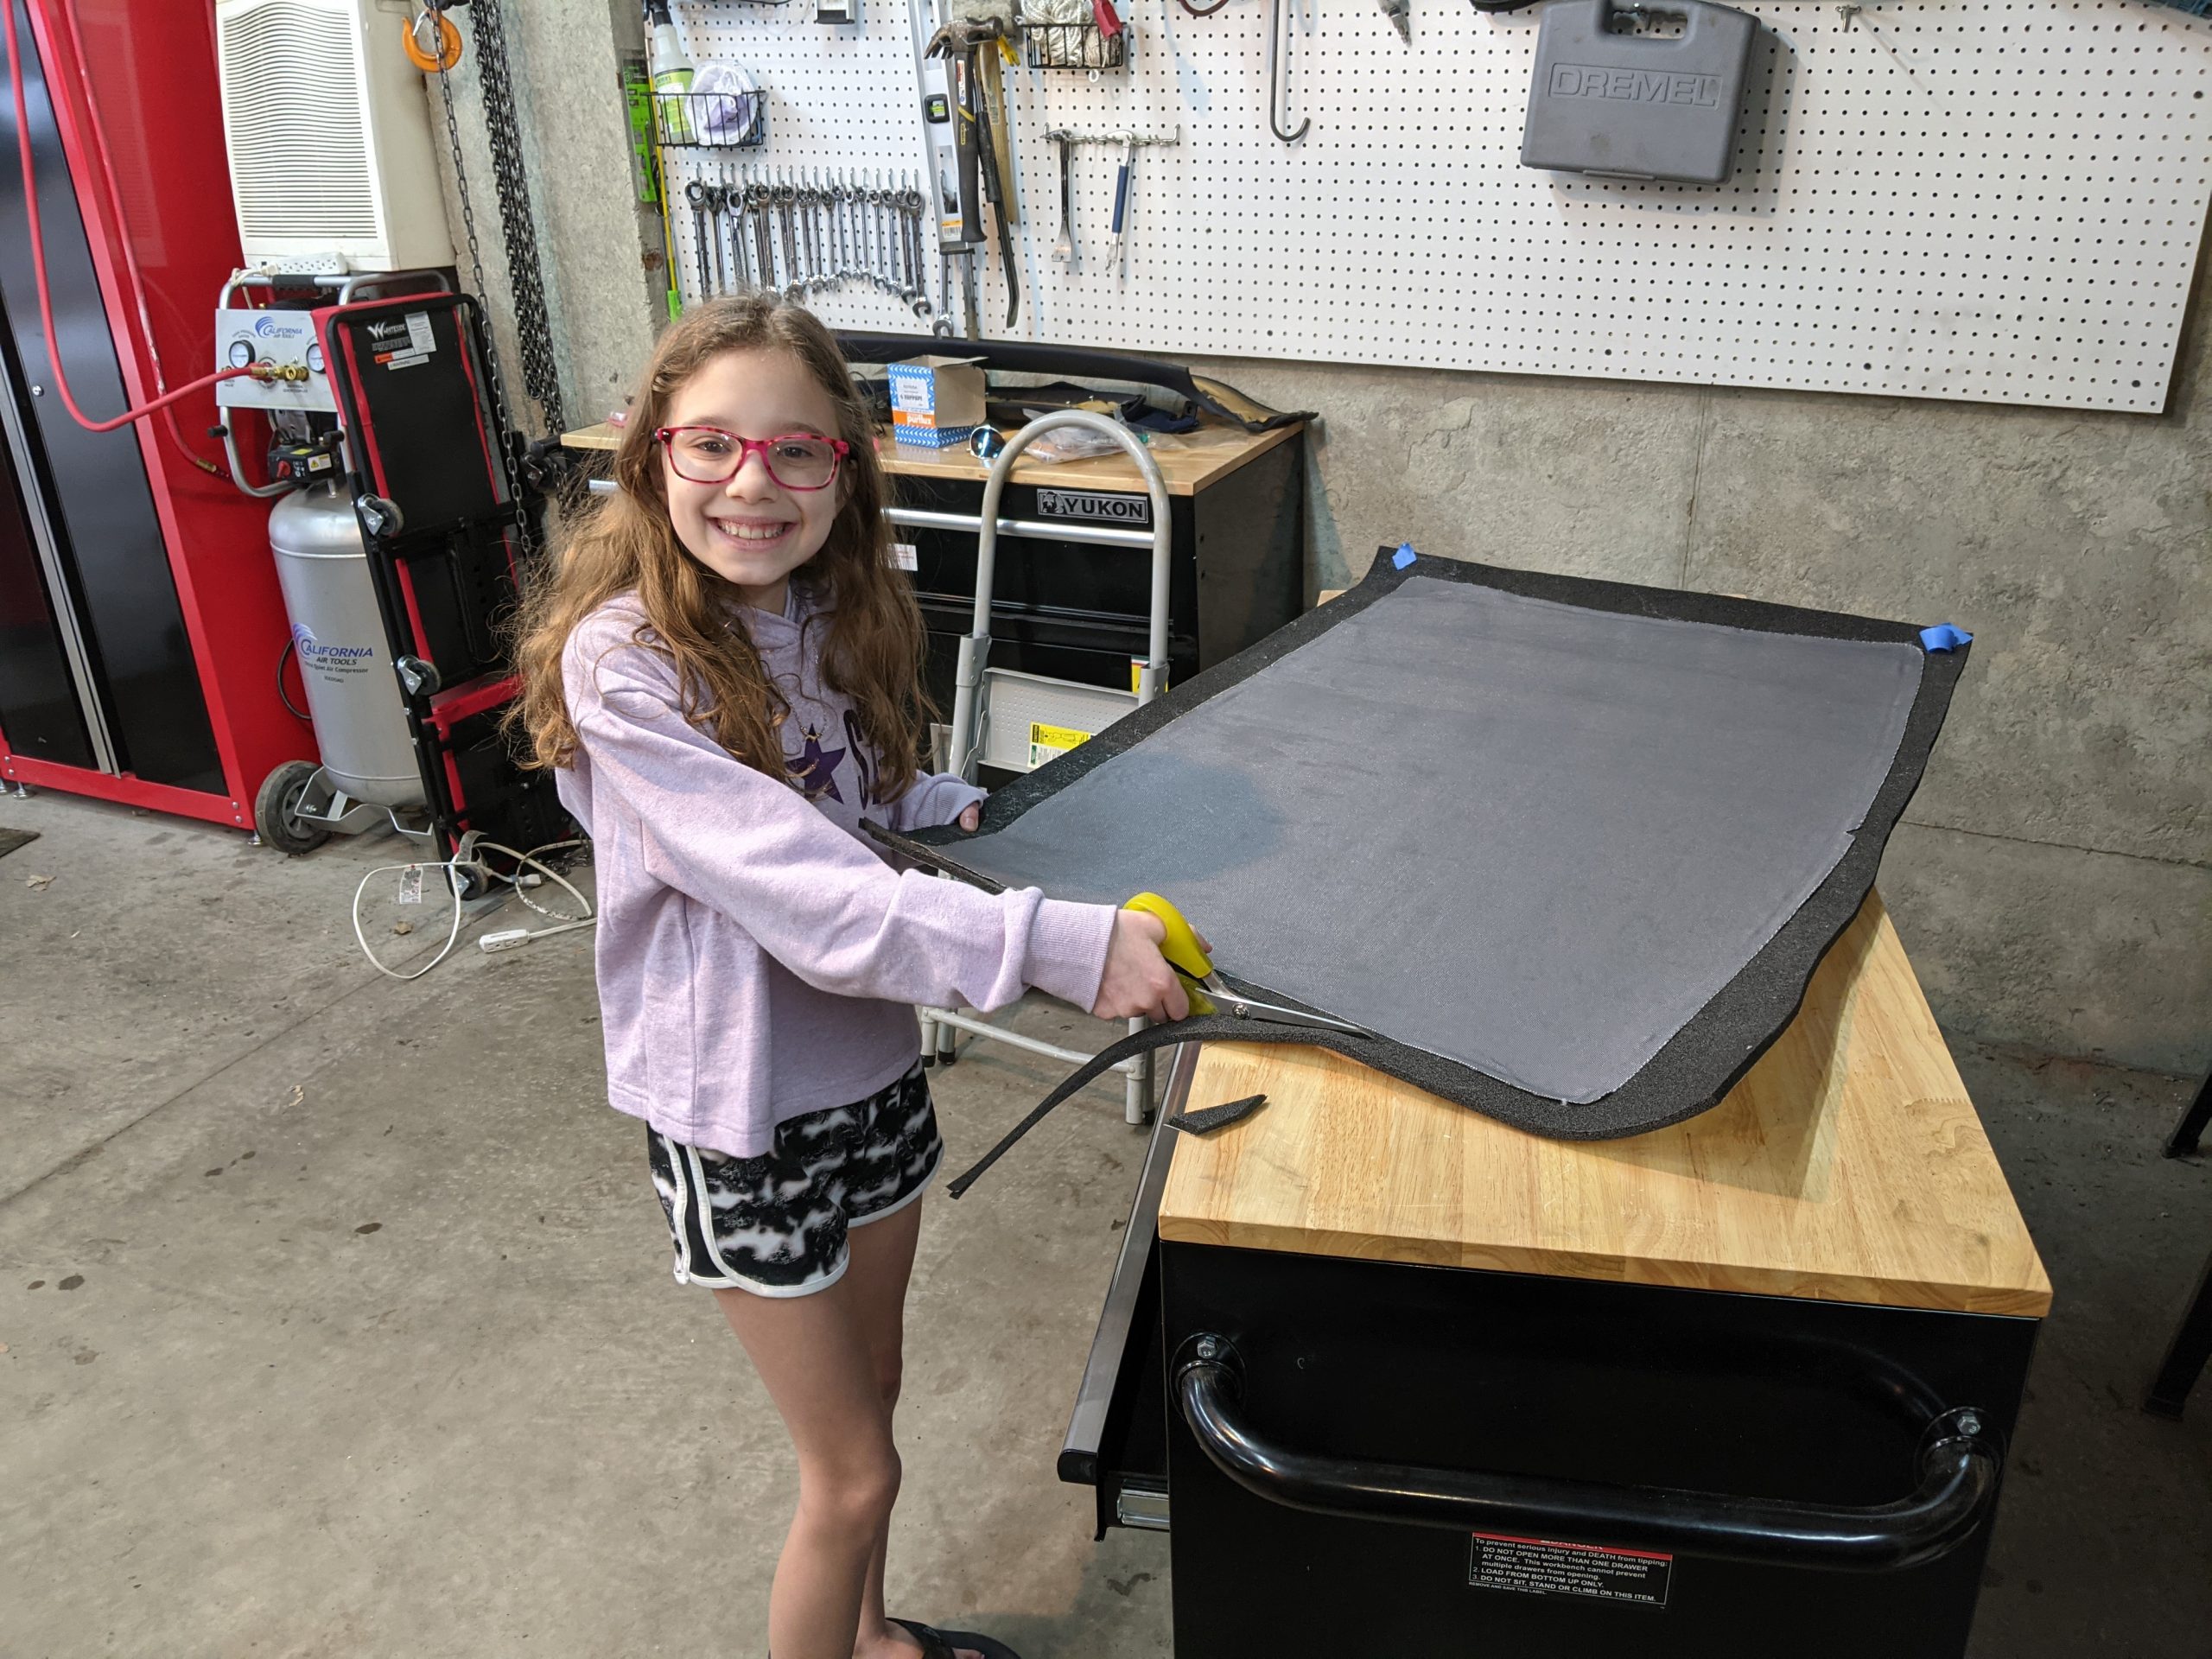
We used the old headliner cloth as a template. This was just a rough cut. The final trimming was done after the glue was dry.
Step 4: Glue the headliner cloth onto the foam
Start by folding it in half. Spray the glue onto the foam. Then lay the headliner onto the foam and glue, using your hands and the roller to smooth out any wrinkles.
I used 3M Hi-Strengh 90 Spray Adhesive between the cloth and the foam. However, there are dedicated headliner glue products out there that might be a better option. The 3M 90 spray can leave dark spots if you don’t pay attention to the drying time needed between spraying and placing the cloth onto the glue. You have been warned. My final product looks great, but I have a spot in the corner that is hidden by a trim piece.
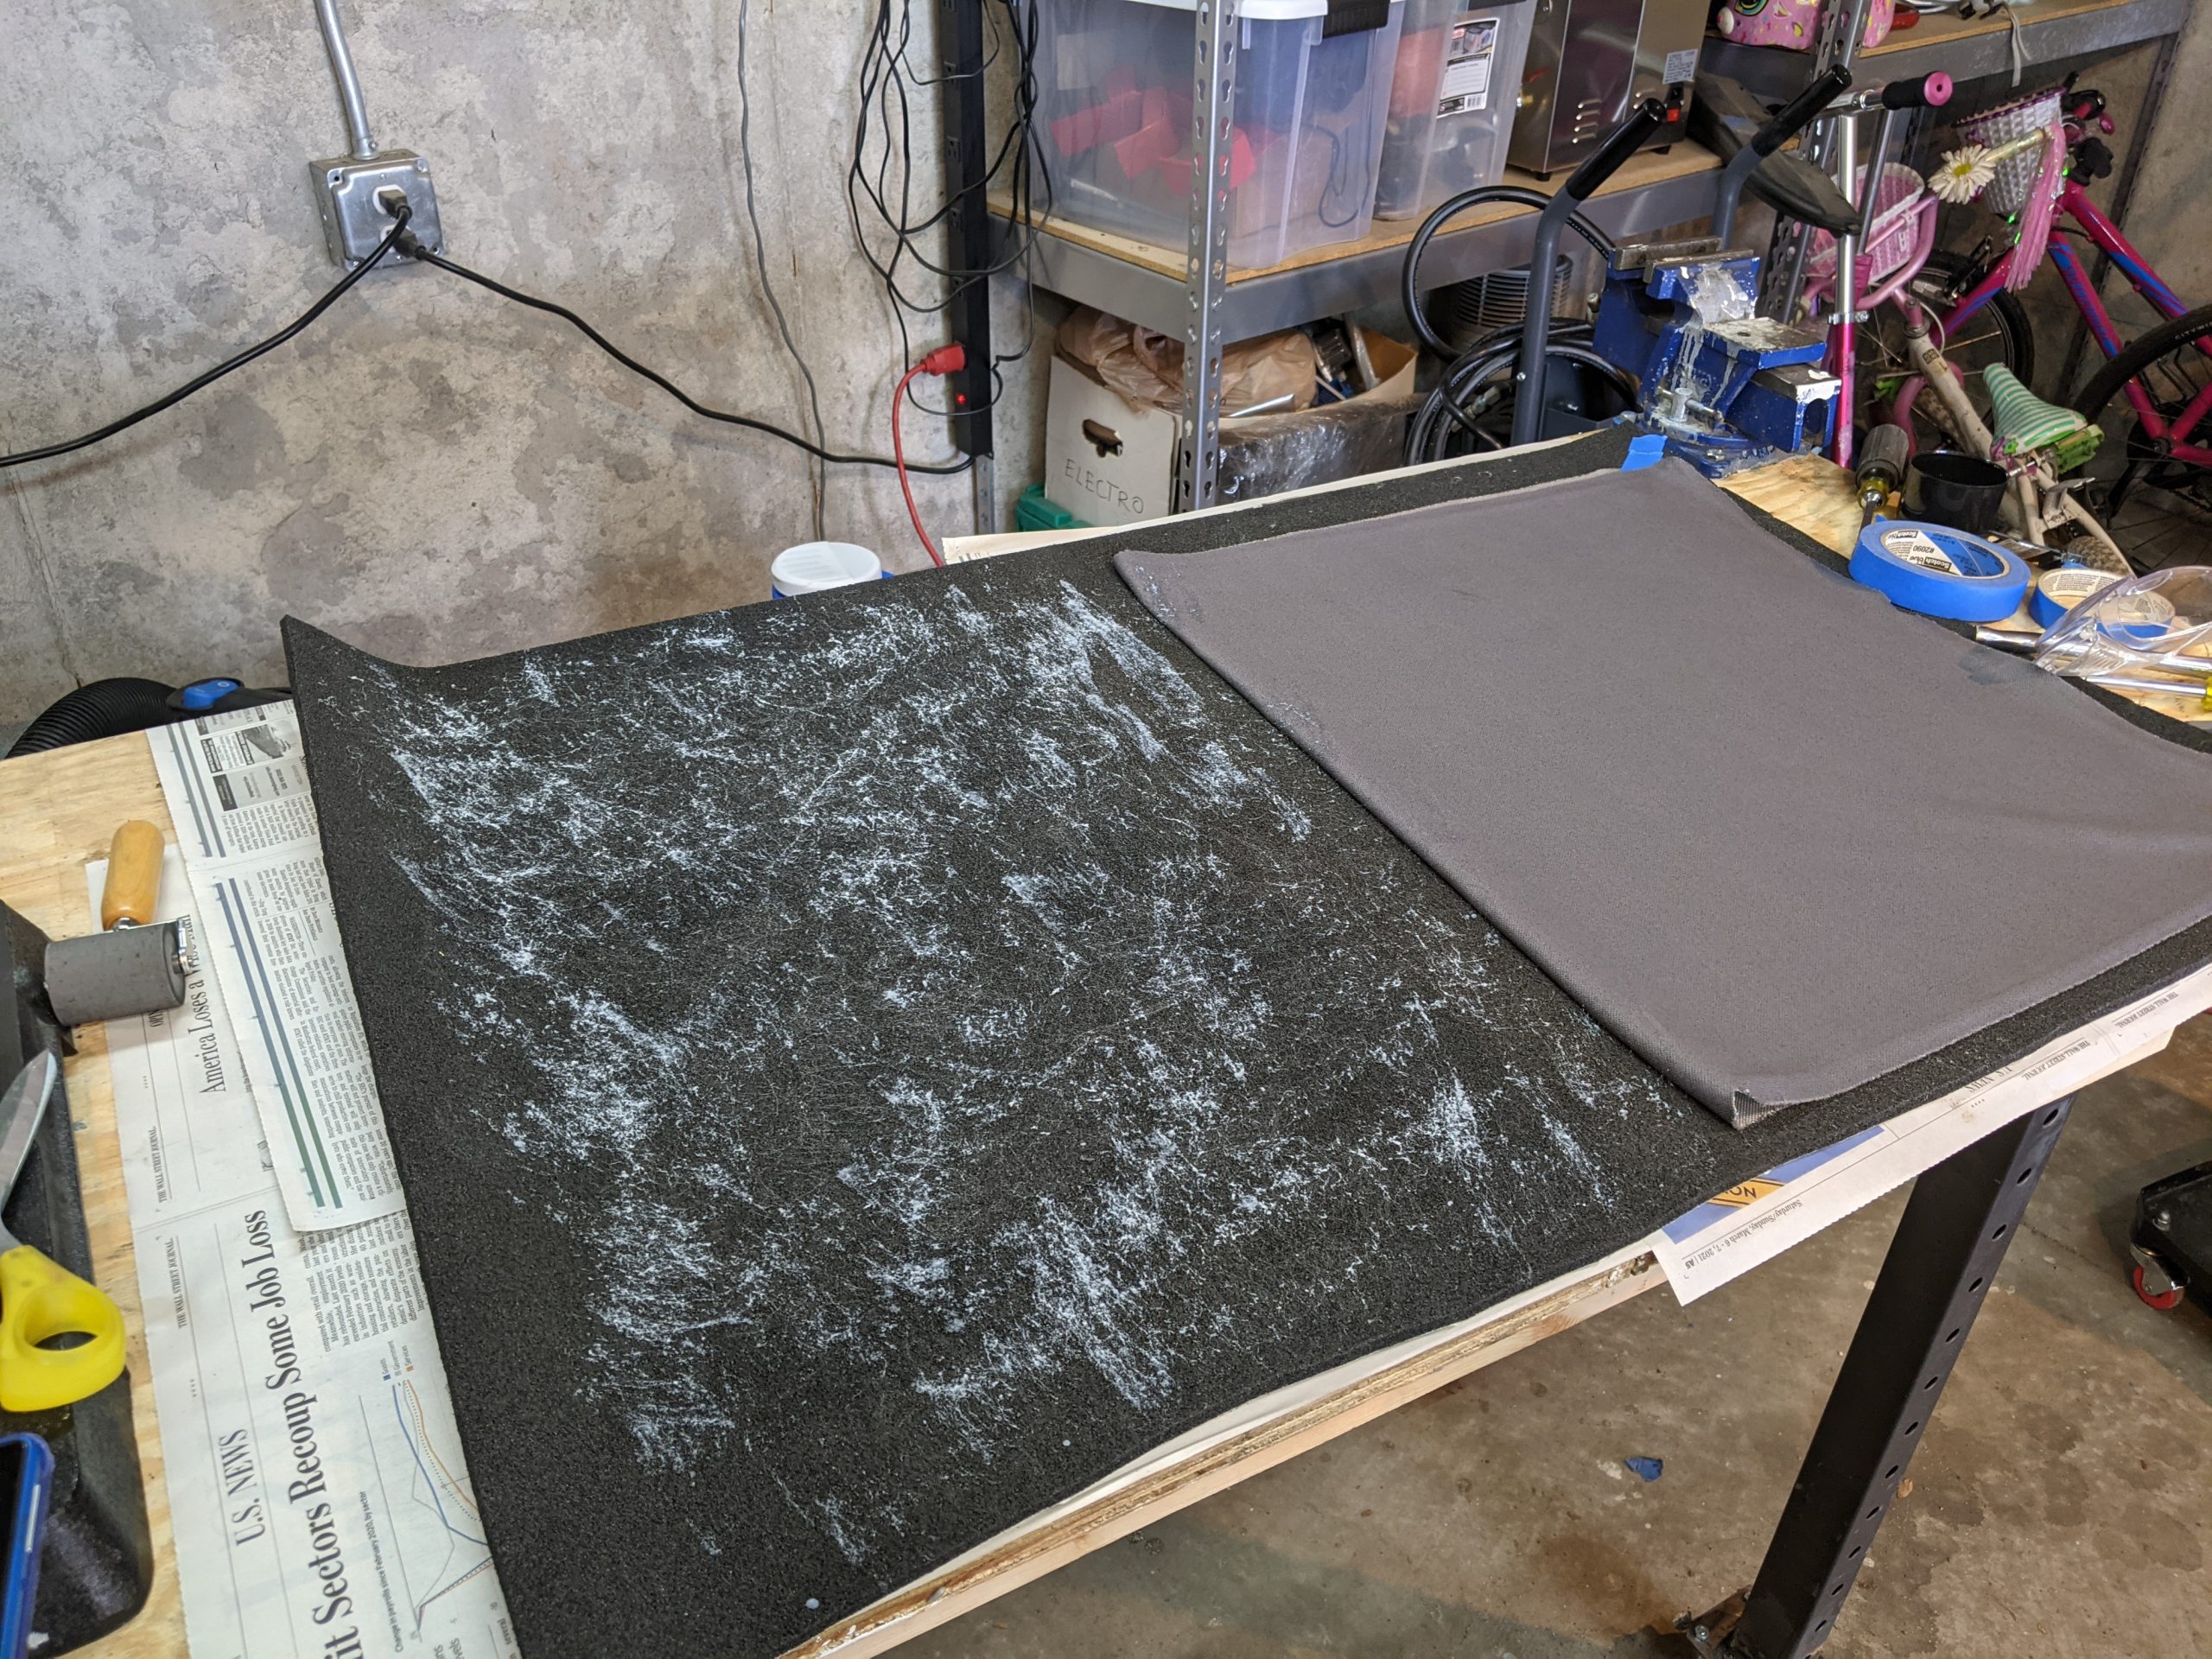
Those dark spots are not ideal, but they went away after drying.
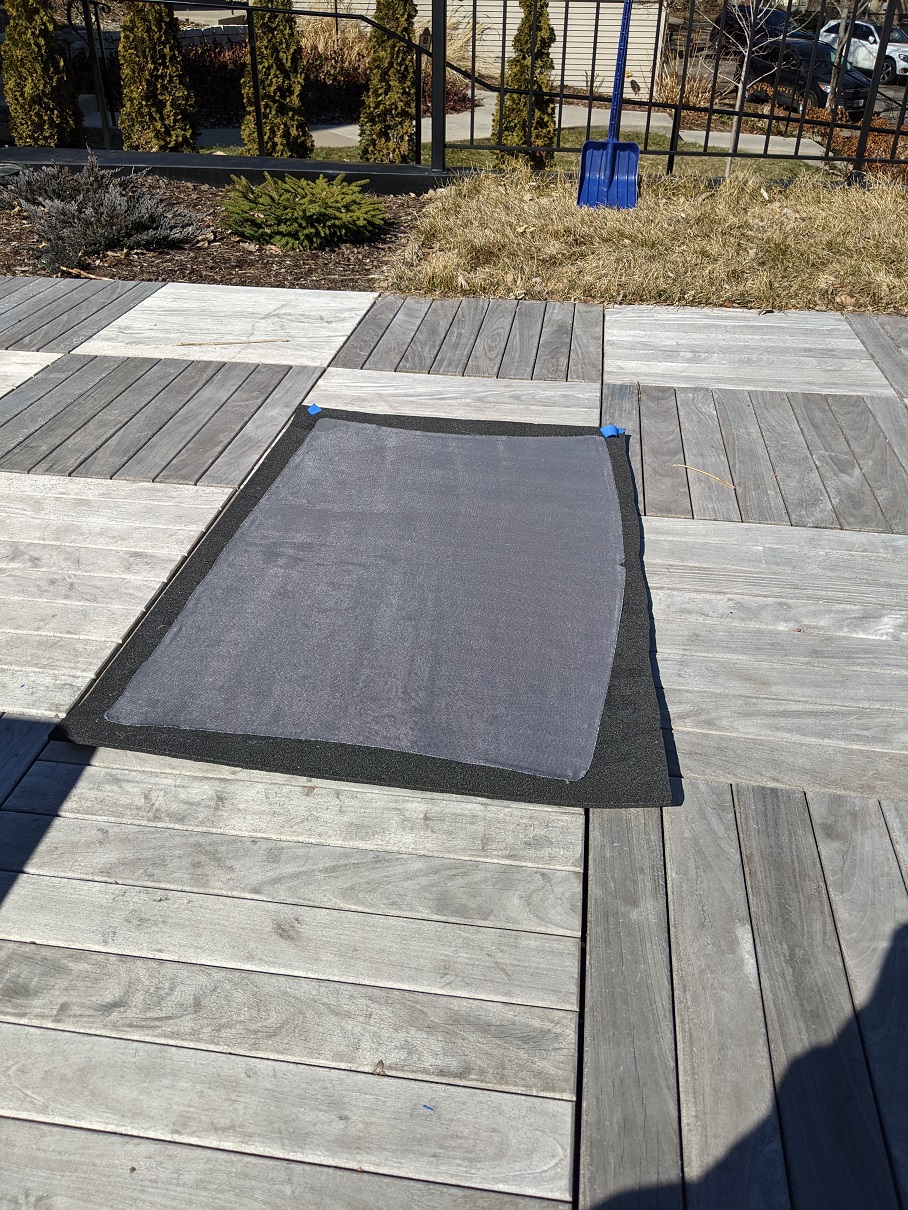
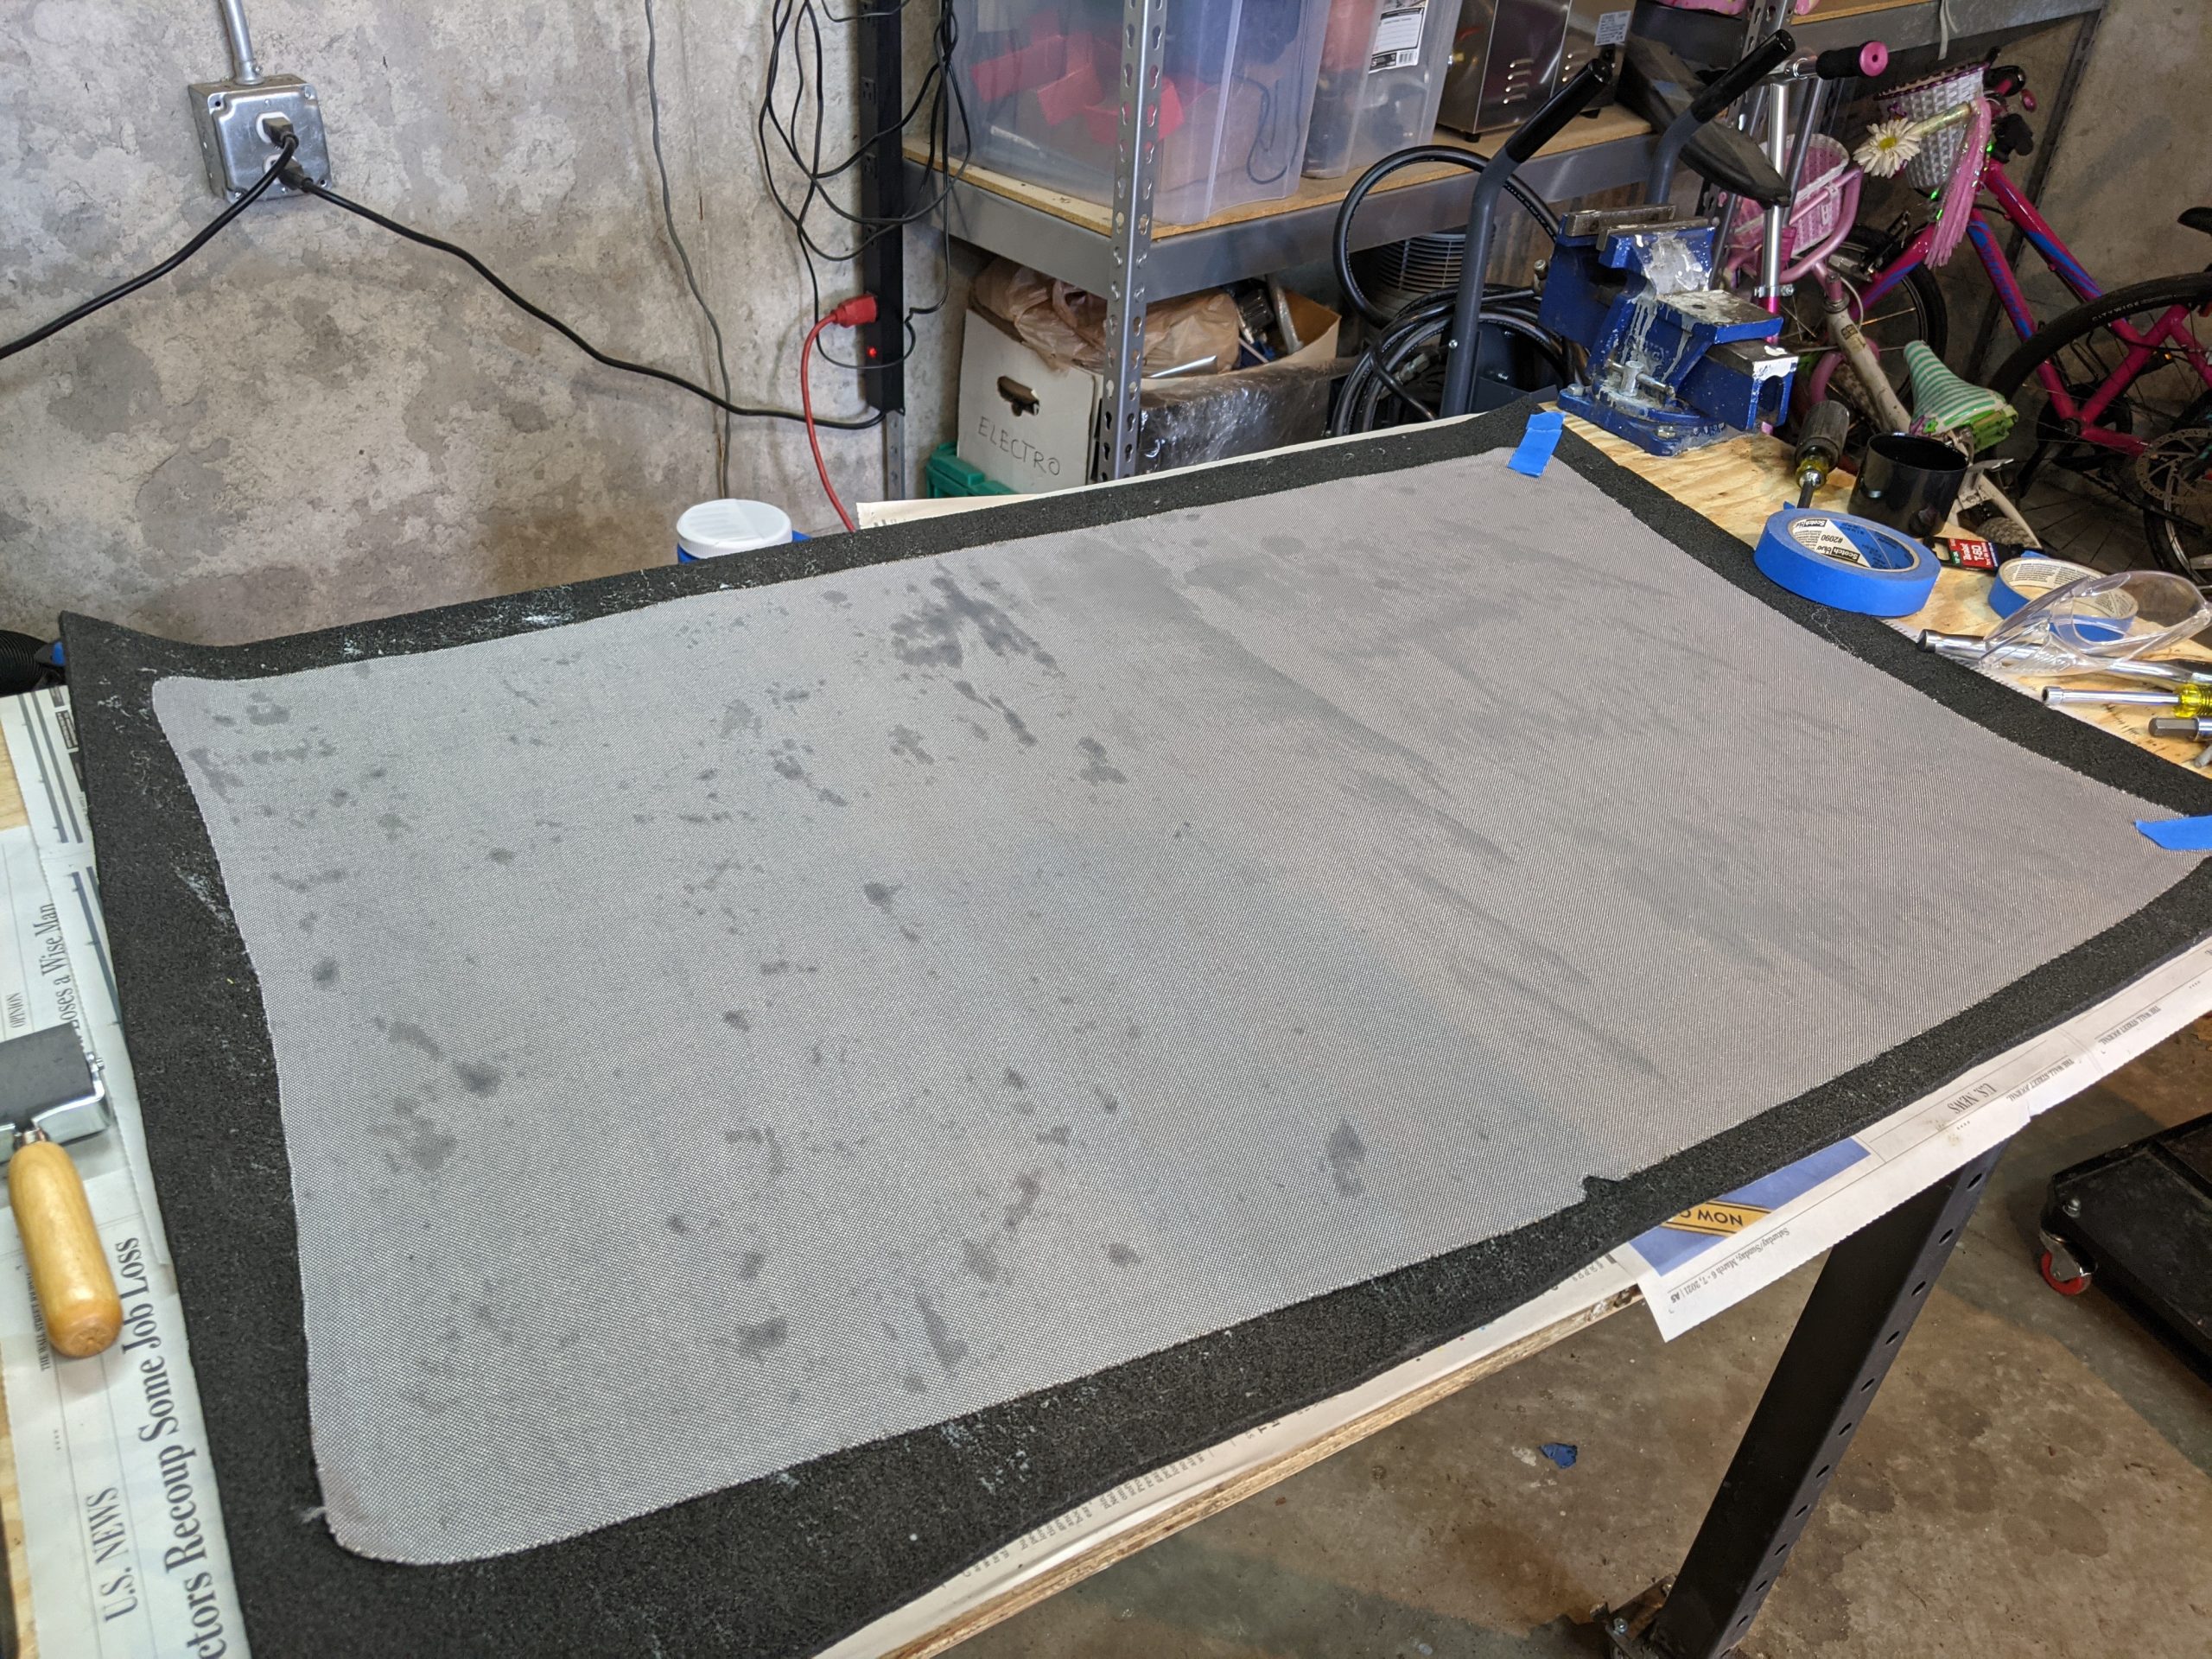
Place it somewhere to dry. Then trim to fit
Step 5: Attach your new headliner onto the Dynamat
This part is quite tricky and you will probably need a helper. Start by test-fitting your headliner prior to removing the backing paper. Then remove the backing liner from the foam, which exposes the adhesive. Attach your new headliner onto the Dynaliner, making sure to avoid any wrinkles.

Step 6: roll flat your new headliner
The roller will be handy in removing any wrinkles.
Step 6: re-attach your trim pieces
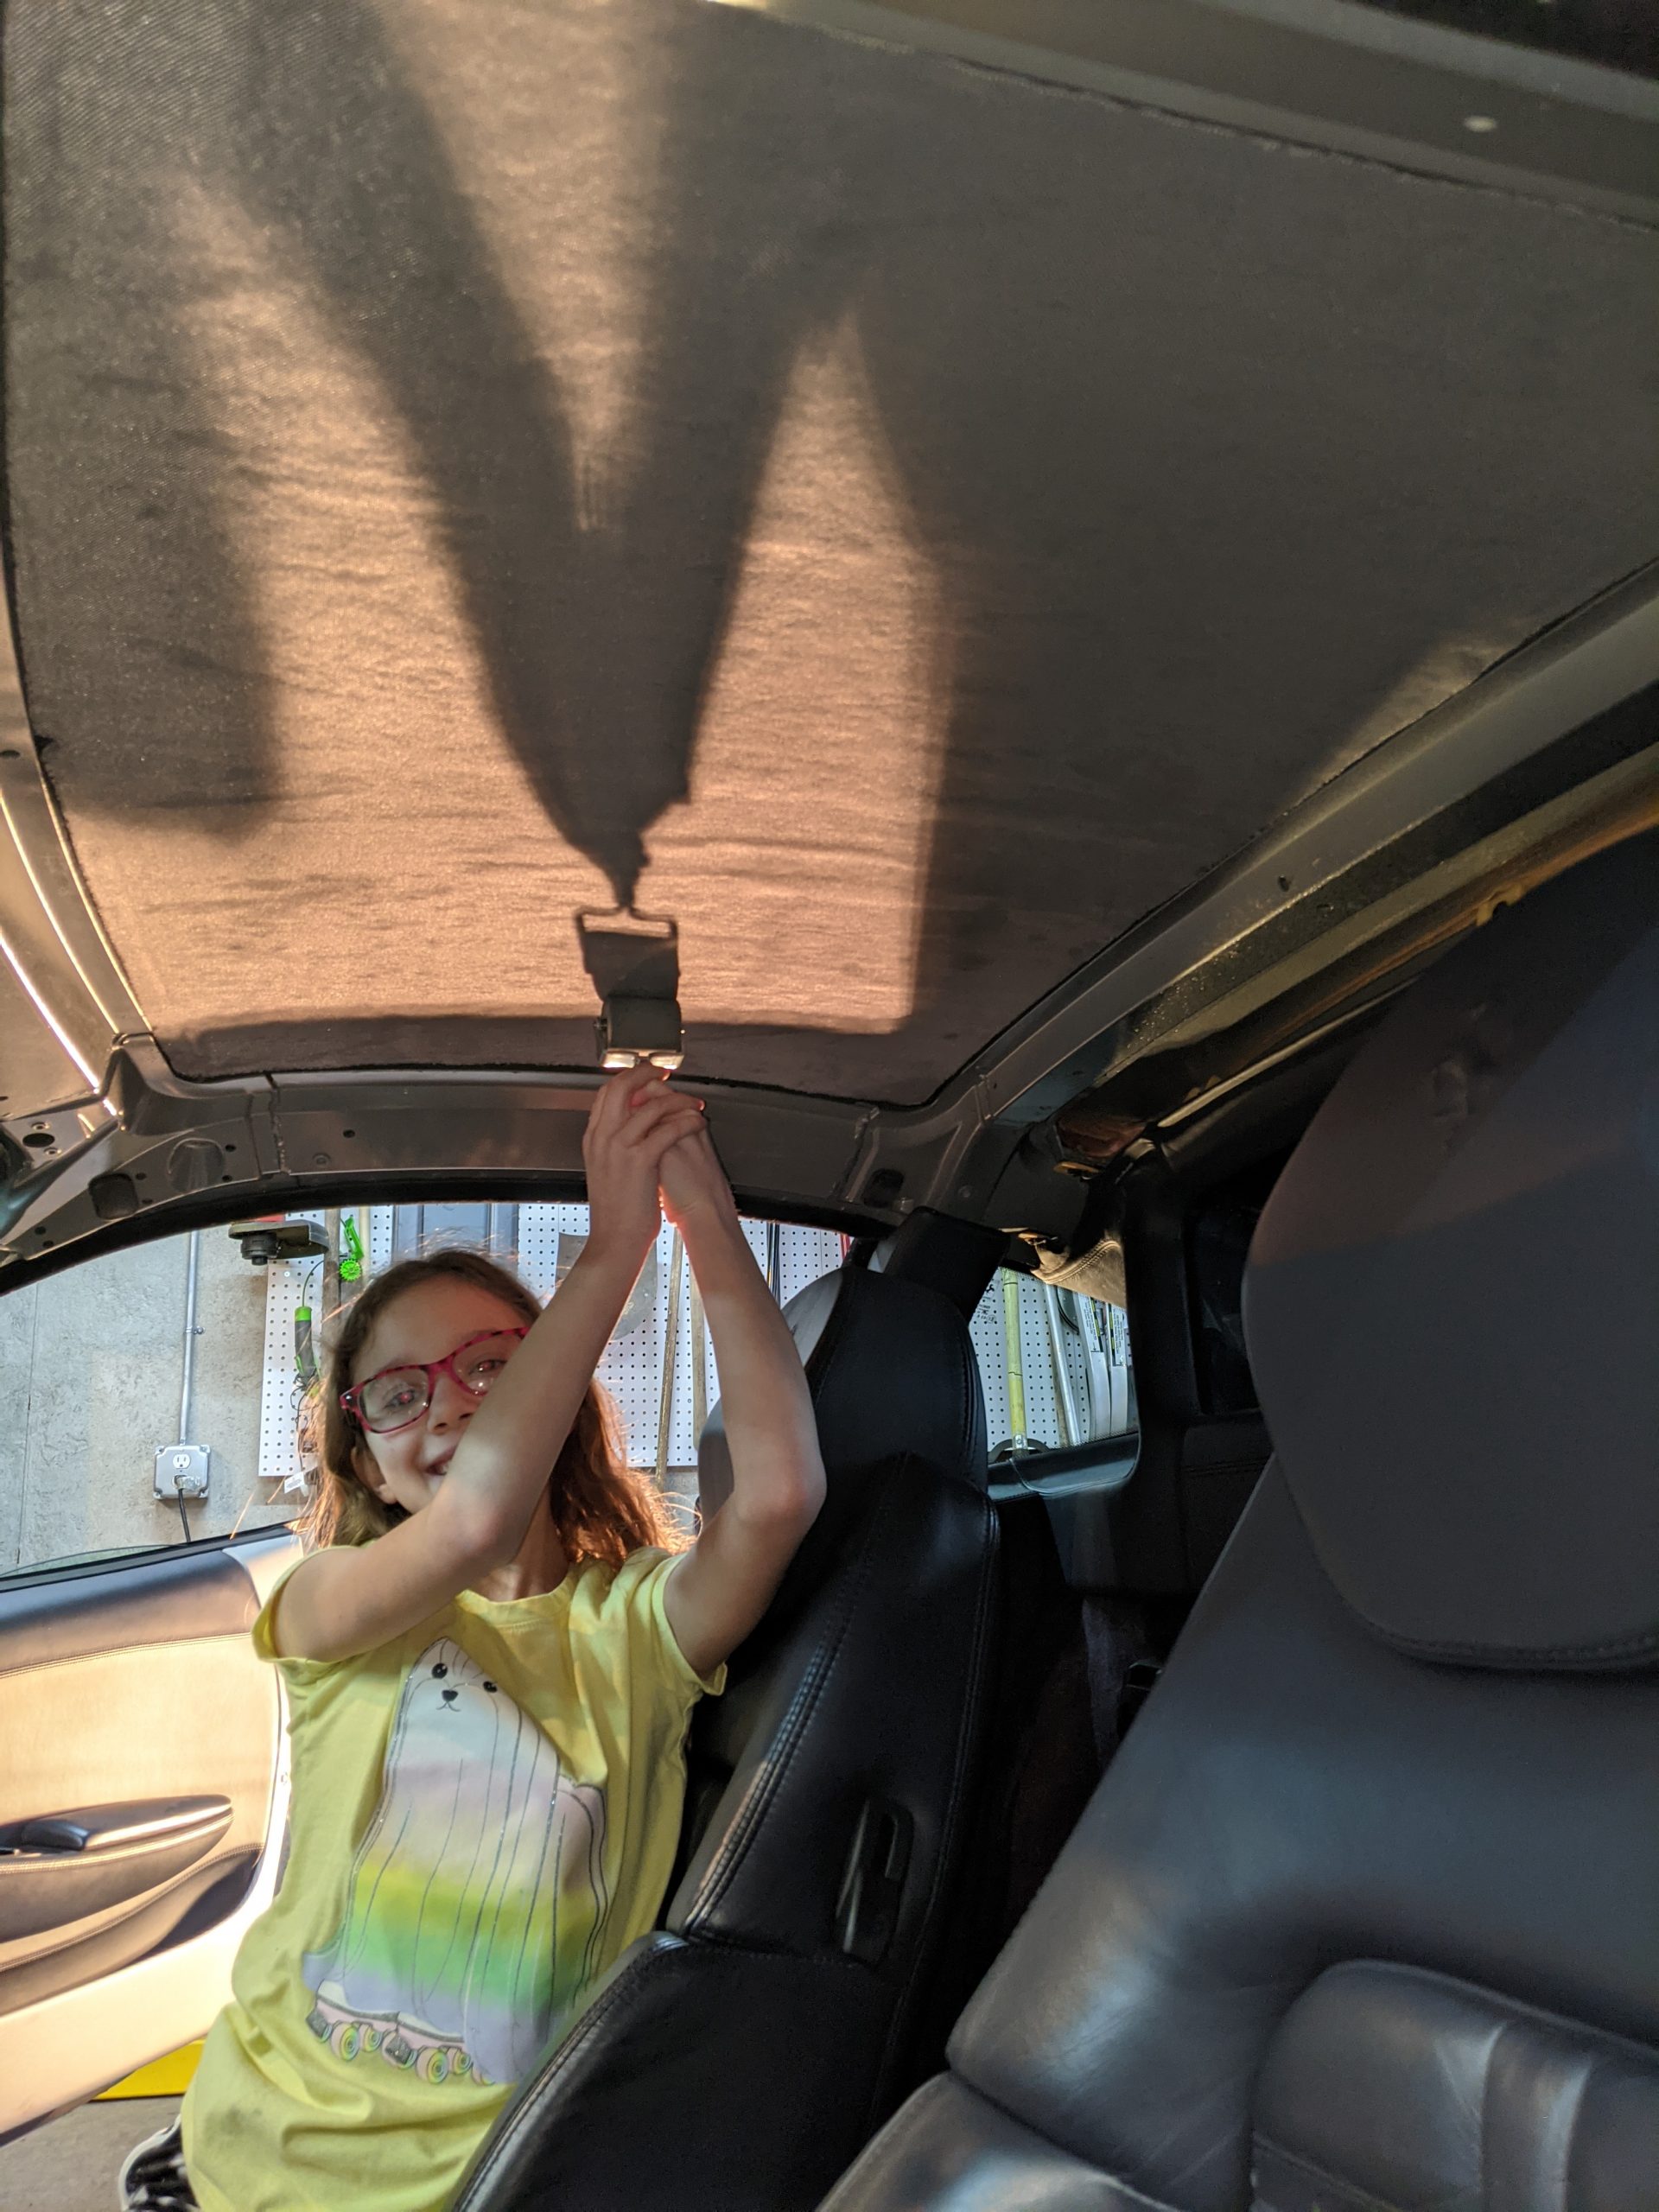
Work in the reverse order from removal. Start with the font piece, then the side pieces, then the back piece. Finally, attach the vertical trim pieces that you started with and re-connect the seatbelt adjuster.