For some reason the glue that Ferrari uses to glue the headliner to the roof eventually fails, causing the roof to sag. I managed to rebuild the headliner using some Dynaliner and Dynafoam.
Step 1: remove the seatbelt adjuster
This can be a bit tricky to remove. You will need a small flat-head screwdriver that can fit in the little slot of the button with the arrow. This will help you unclip the button and expose the nut that needs to be loosened in order to remove the guide. Note that when you re-tighten this nut, don’t over-do it or your seatbelt will get stuck and won’t pull back in.

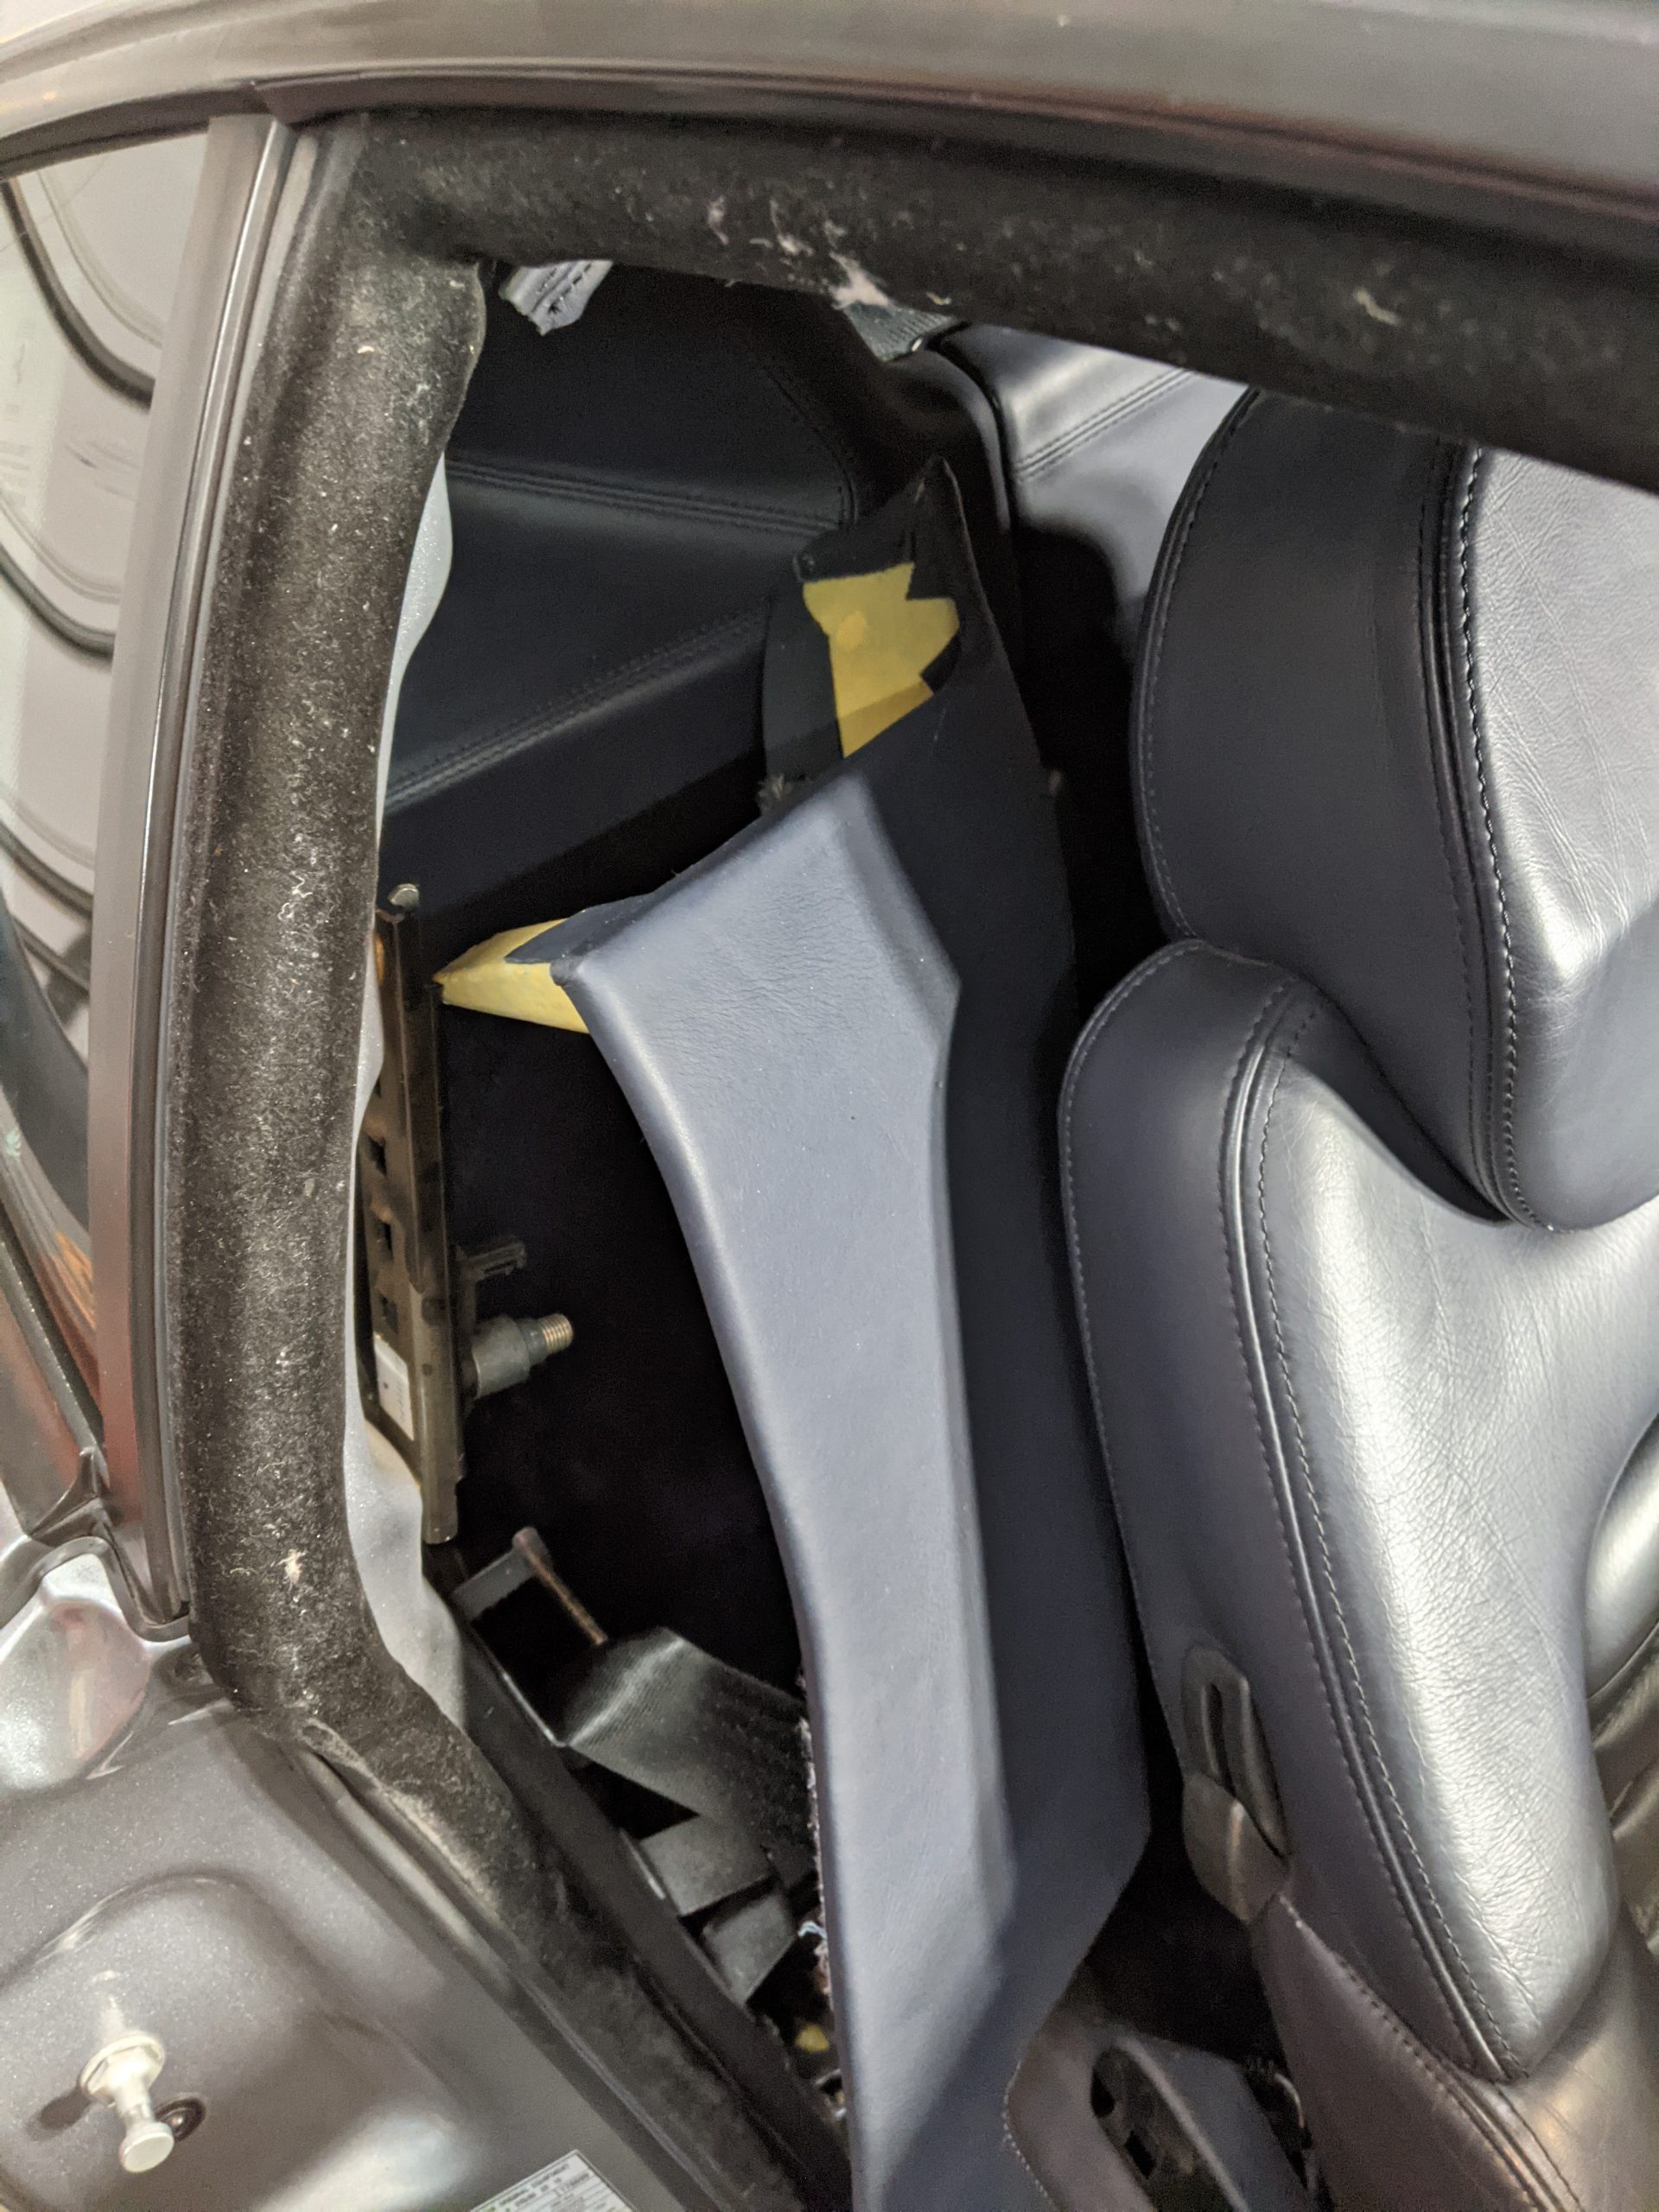
Step 2: Remove the vertical trims
Start with the two posts that the seatbelt adjuster is connected to. After removing the seatbelt adjusters, the trim pieces should pop off by hand, starting at the top. The trim pieces are held in by plastic bits that might break when you pop them off. You can order replacements from ricambi. Item number 66092400 for the yellow clips and 14186880 for the grey clips
Step 3: remove the rear trim
After the vertical trim pieces are removed that exposes screws for the top rear trim piece. Remove these, then pop off the trim piece.
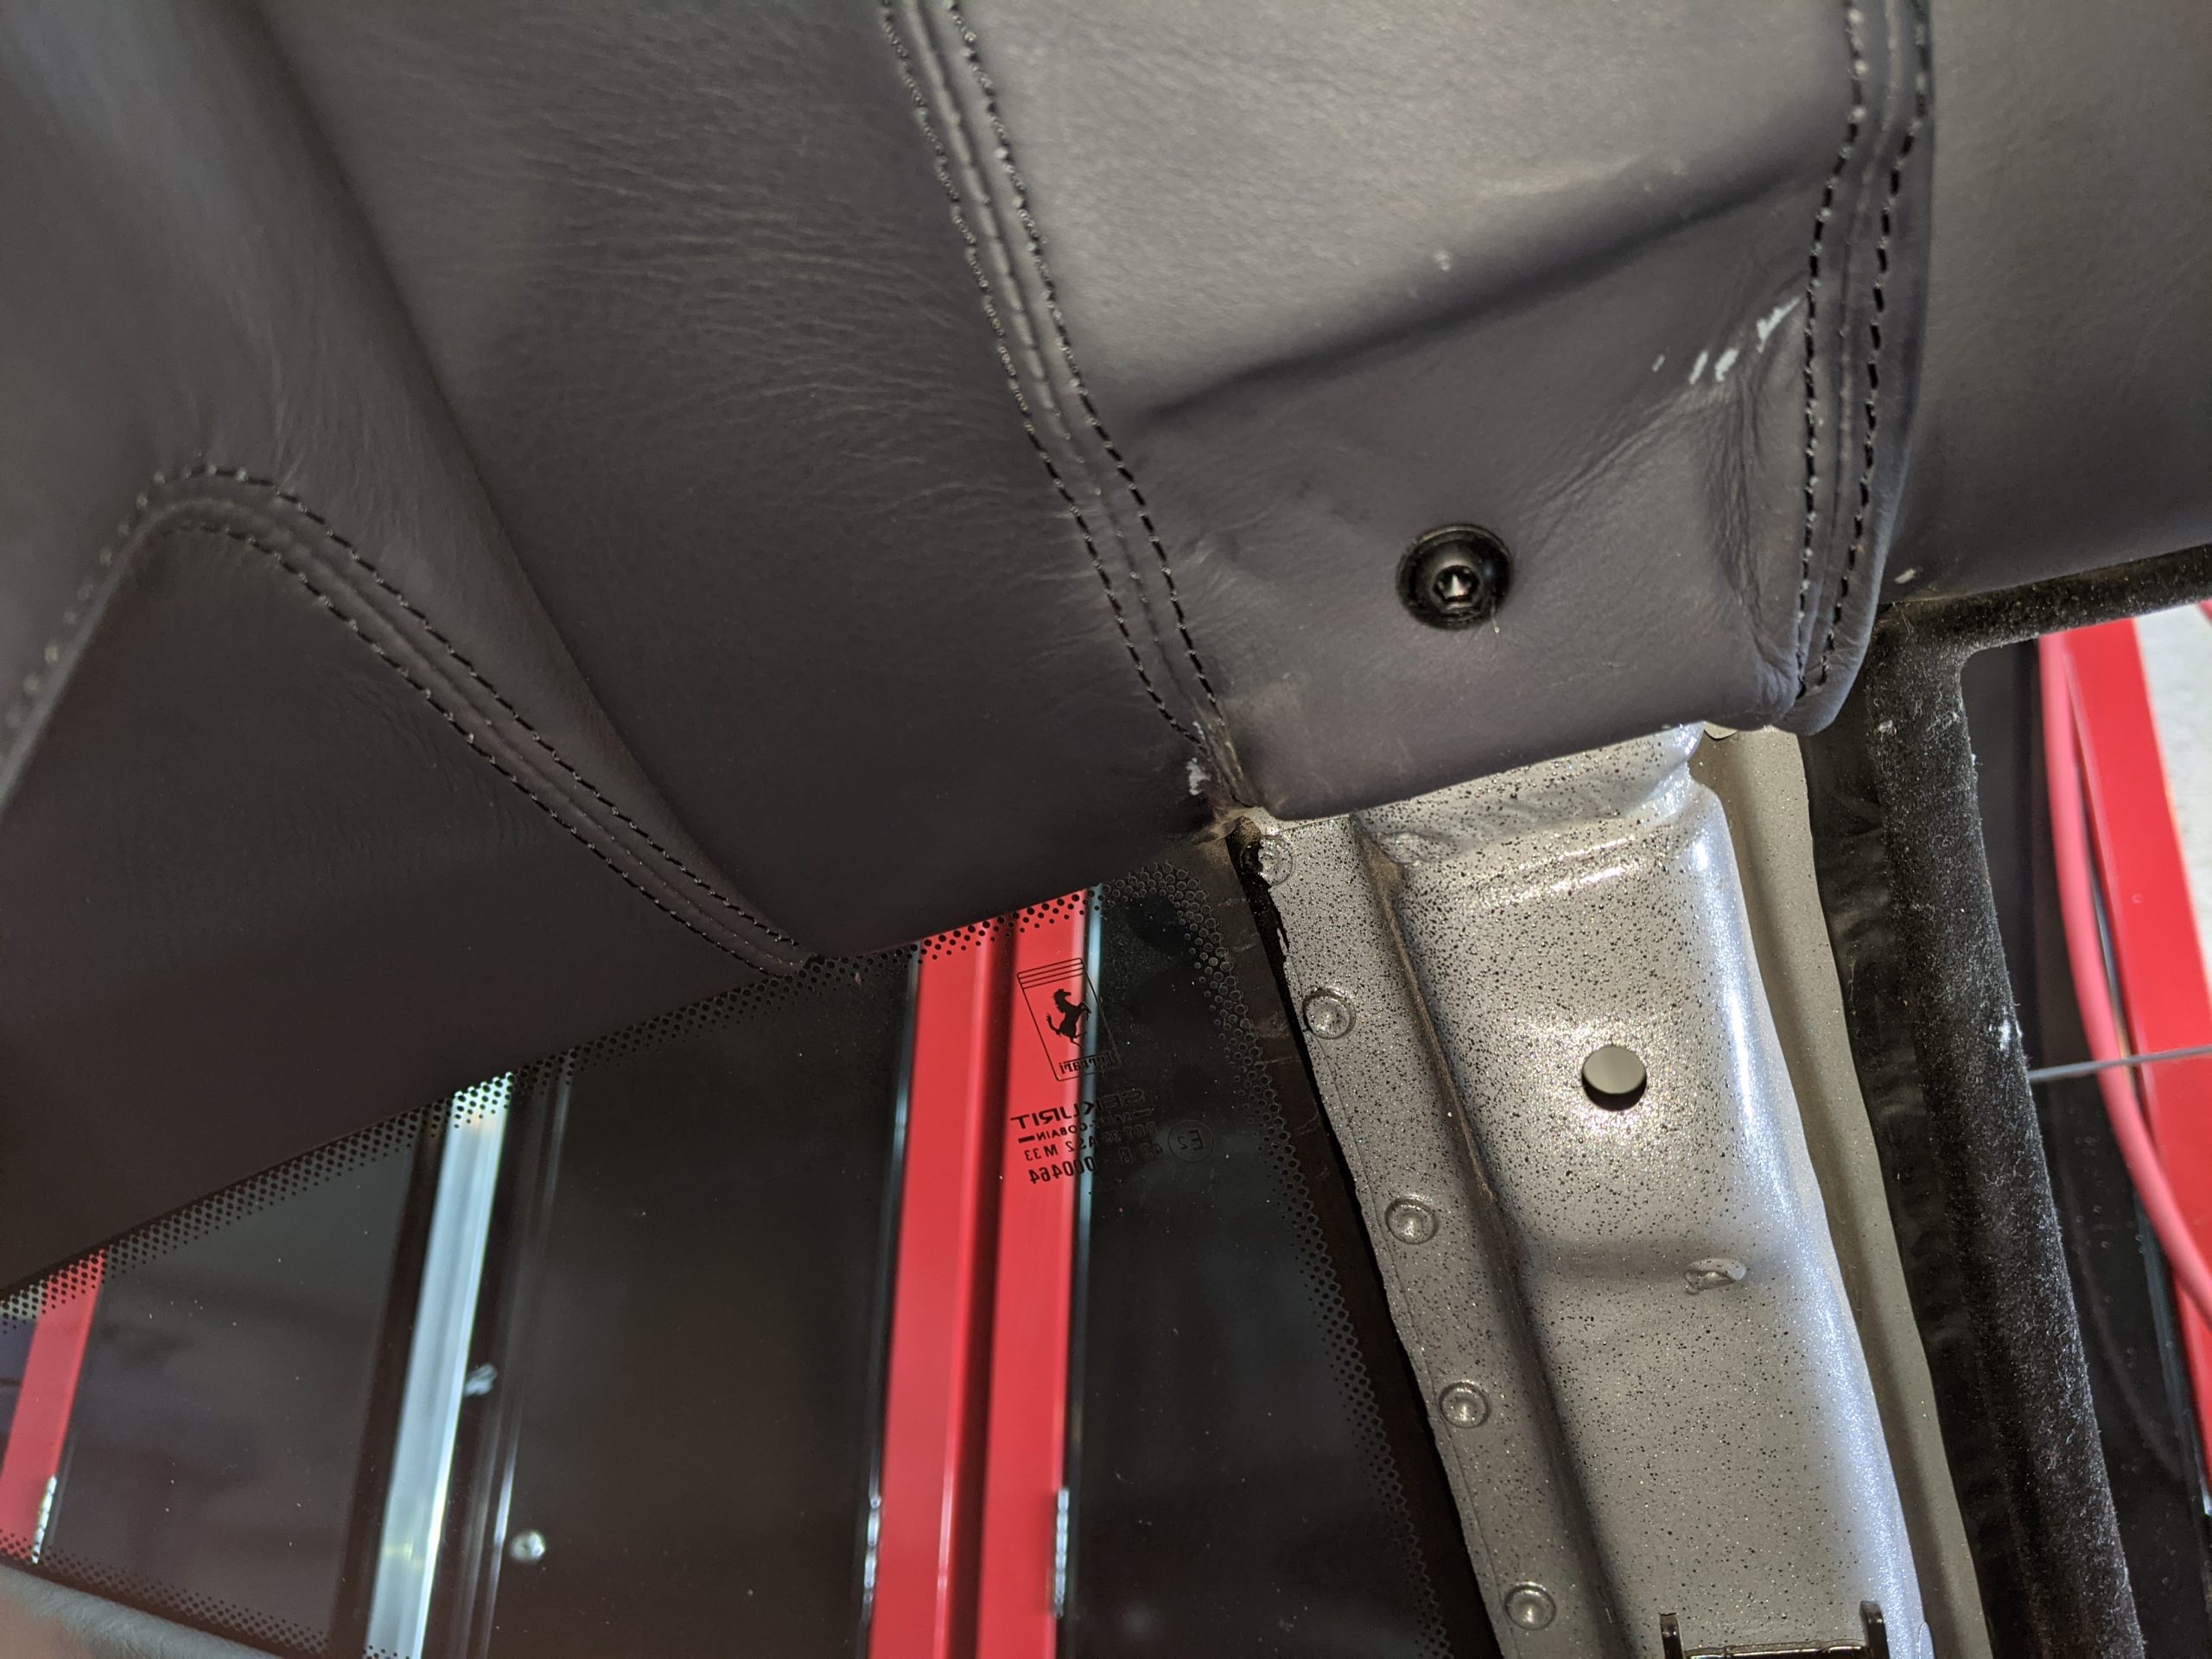
This is what the back of the trim pieces look like. Those plastic clips might break, but they’re easy to replace.
Step 4: Remove the side trim
You will need to remove some screws again before popping off the side trim pieces. We’re essentially working this from back to front as the trim pieces are overlaid on top of each other in a particular order.
In this photo you can see that my headliner has already come off, exposing the foam which is in terrible shape. We’ll be removing this mess later.
Step 5: Remove the sun visors

These are held in by philips screws and come off fairly easily.
Step 6: Remove dome light
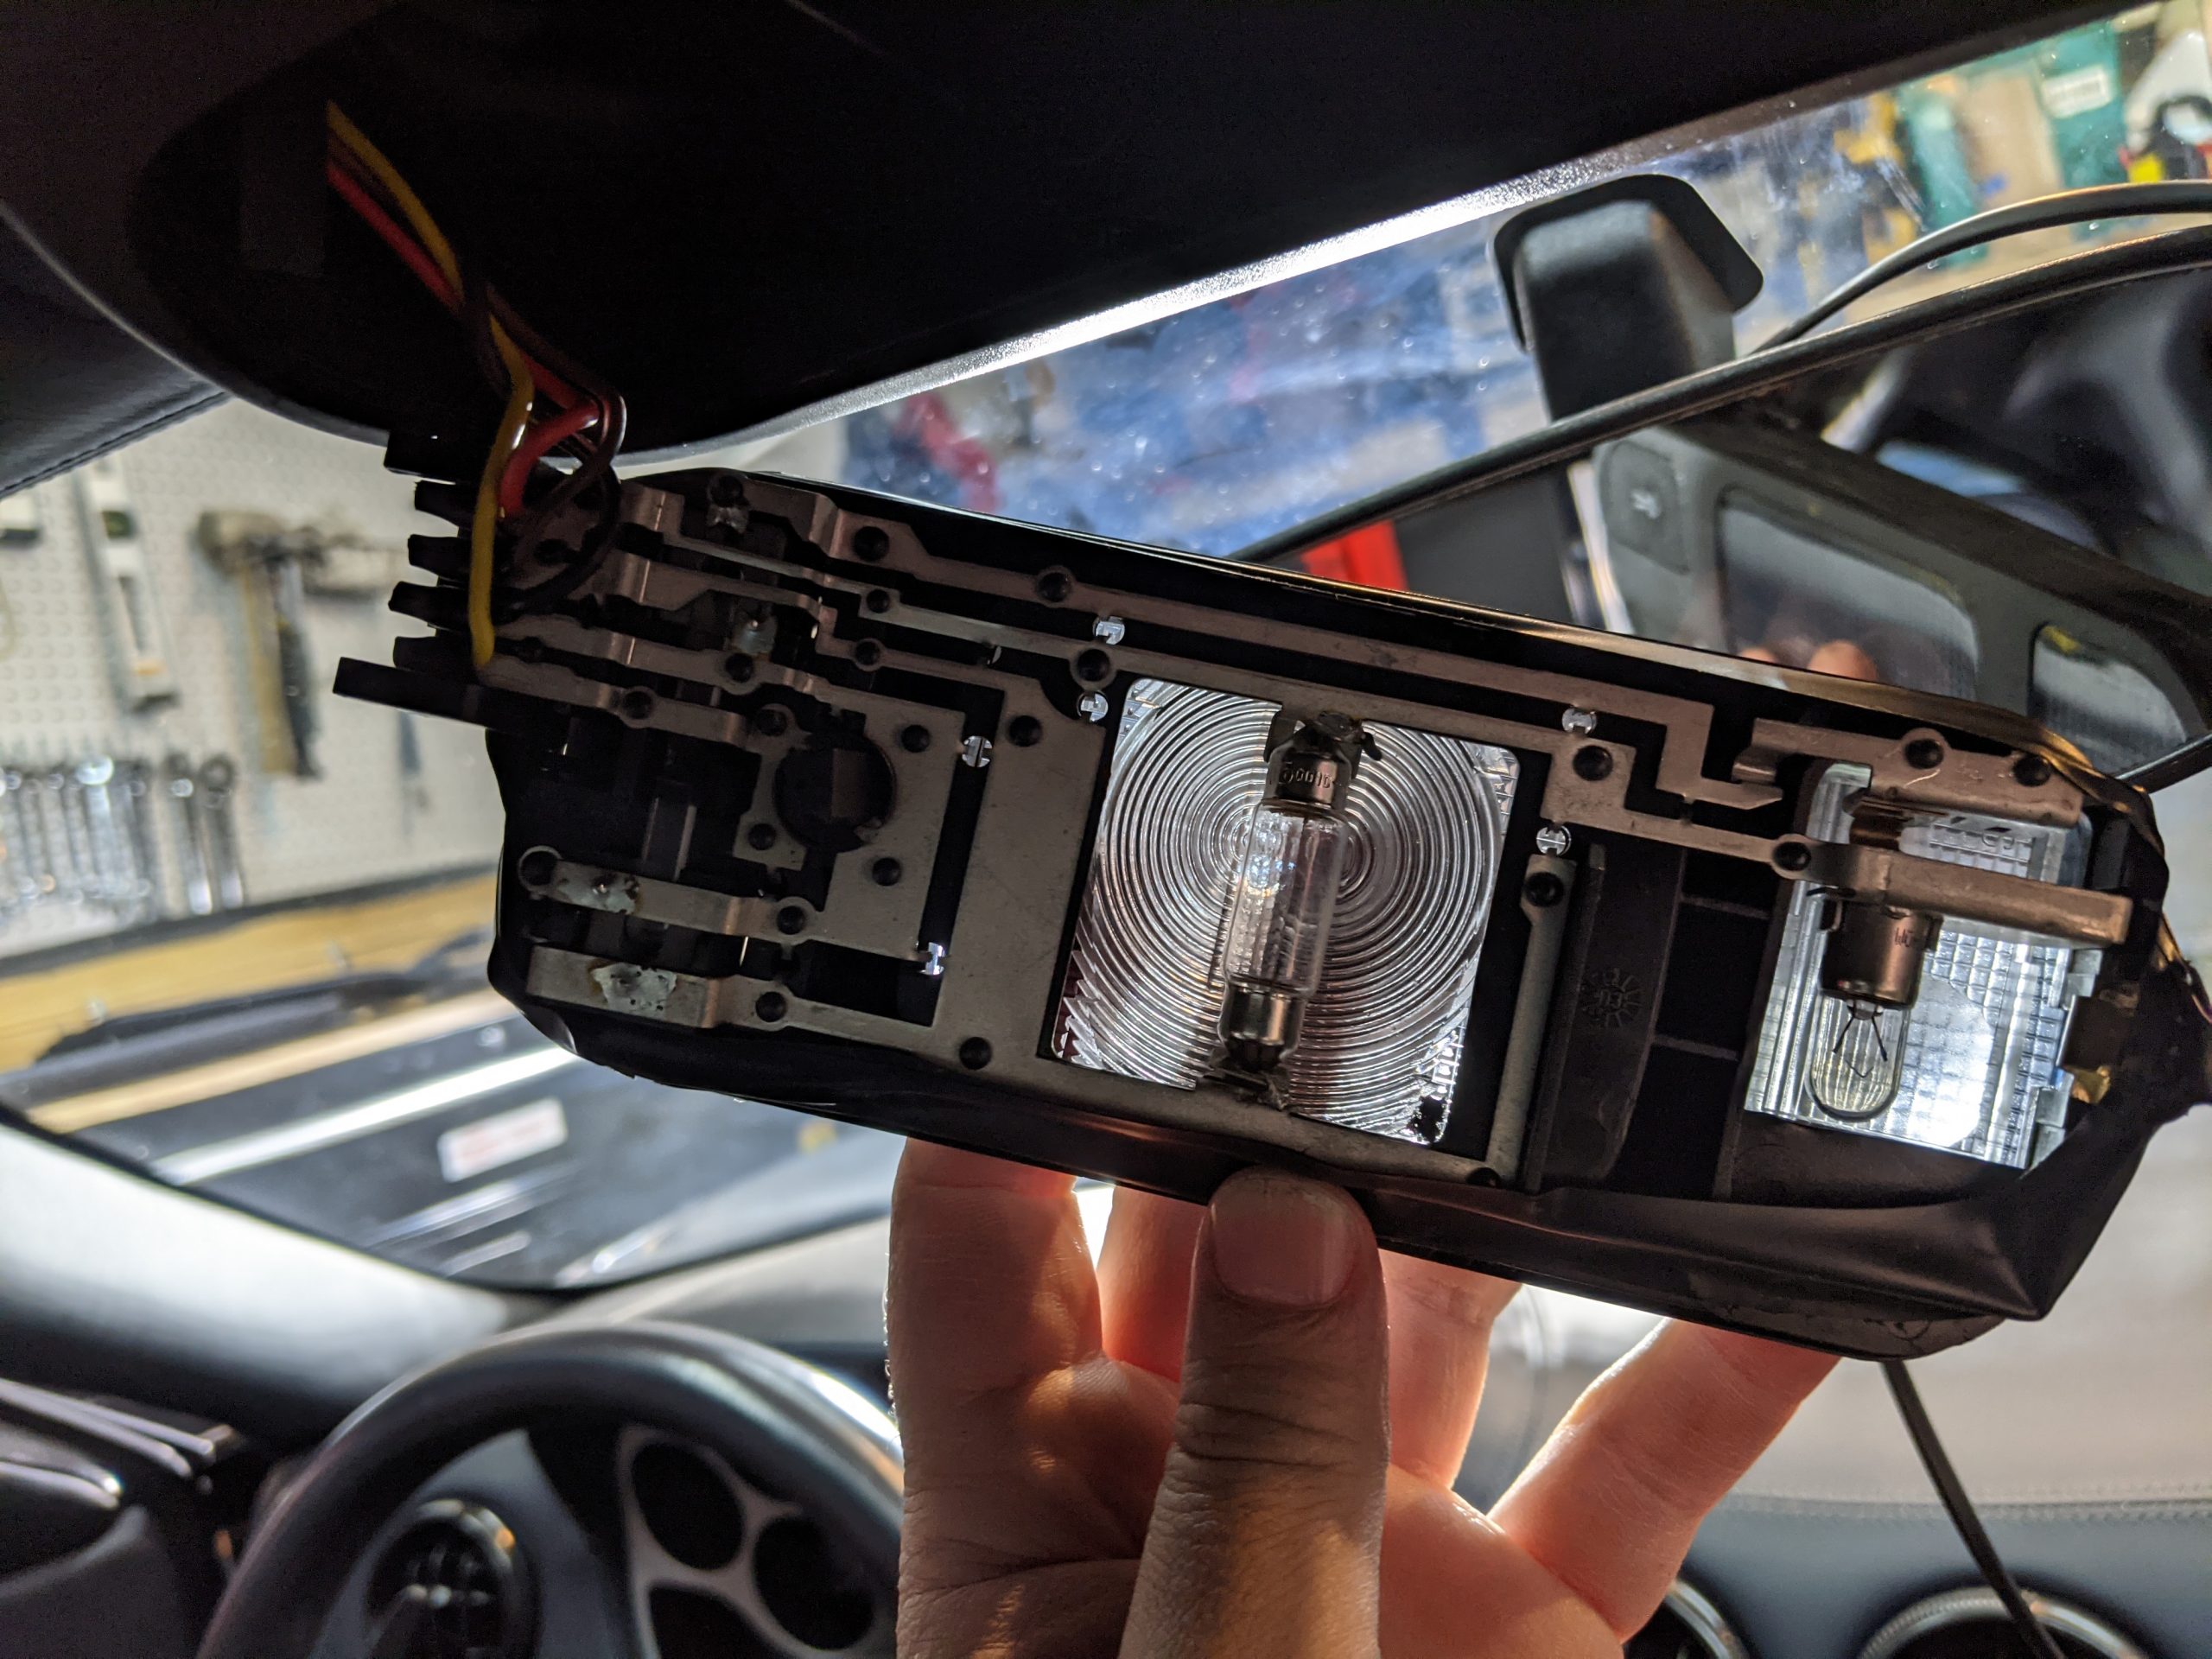
In order for the dome light to come off, you will nee to insert a screw driver into a little tab on the side. You can then undo the wiring harnesses and remove this part completely, which exposes the screws you need to remove the plastic box this piece is attached to.
While you have this part disconnected, it is a great time to upgrade to LED lighting and hardwire a radar detector. In my case, the assembly was broken, so I also had to 3D print a fix for it to close again.
Step 7: Remove front trim piece
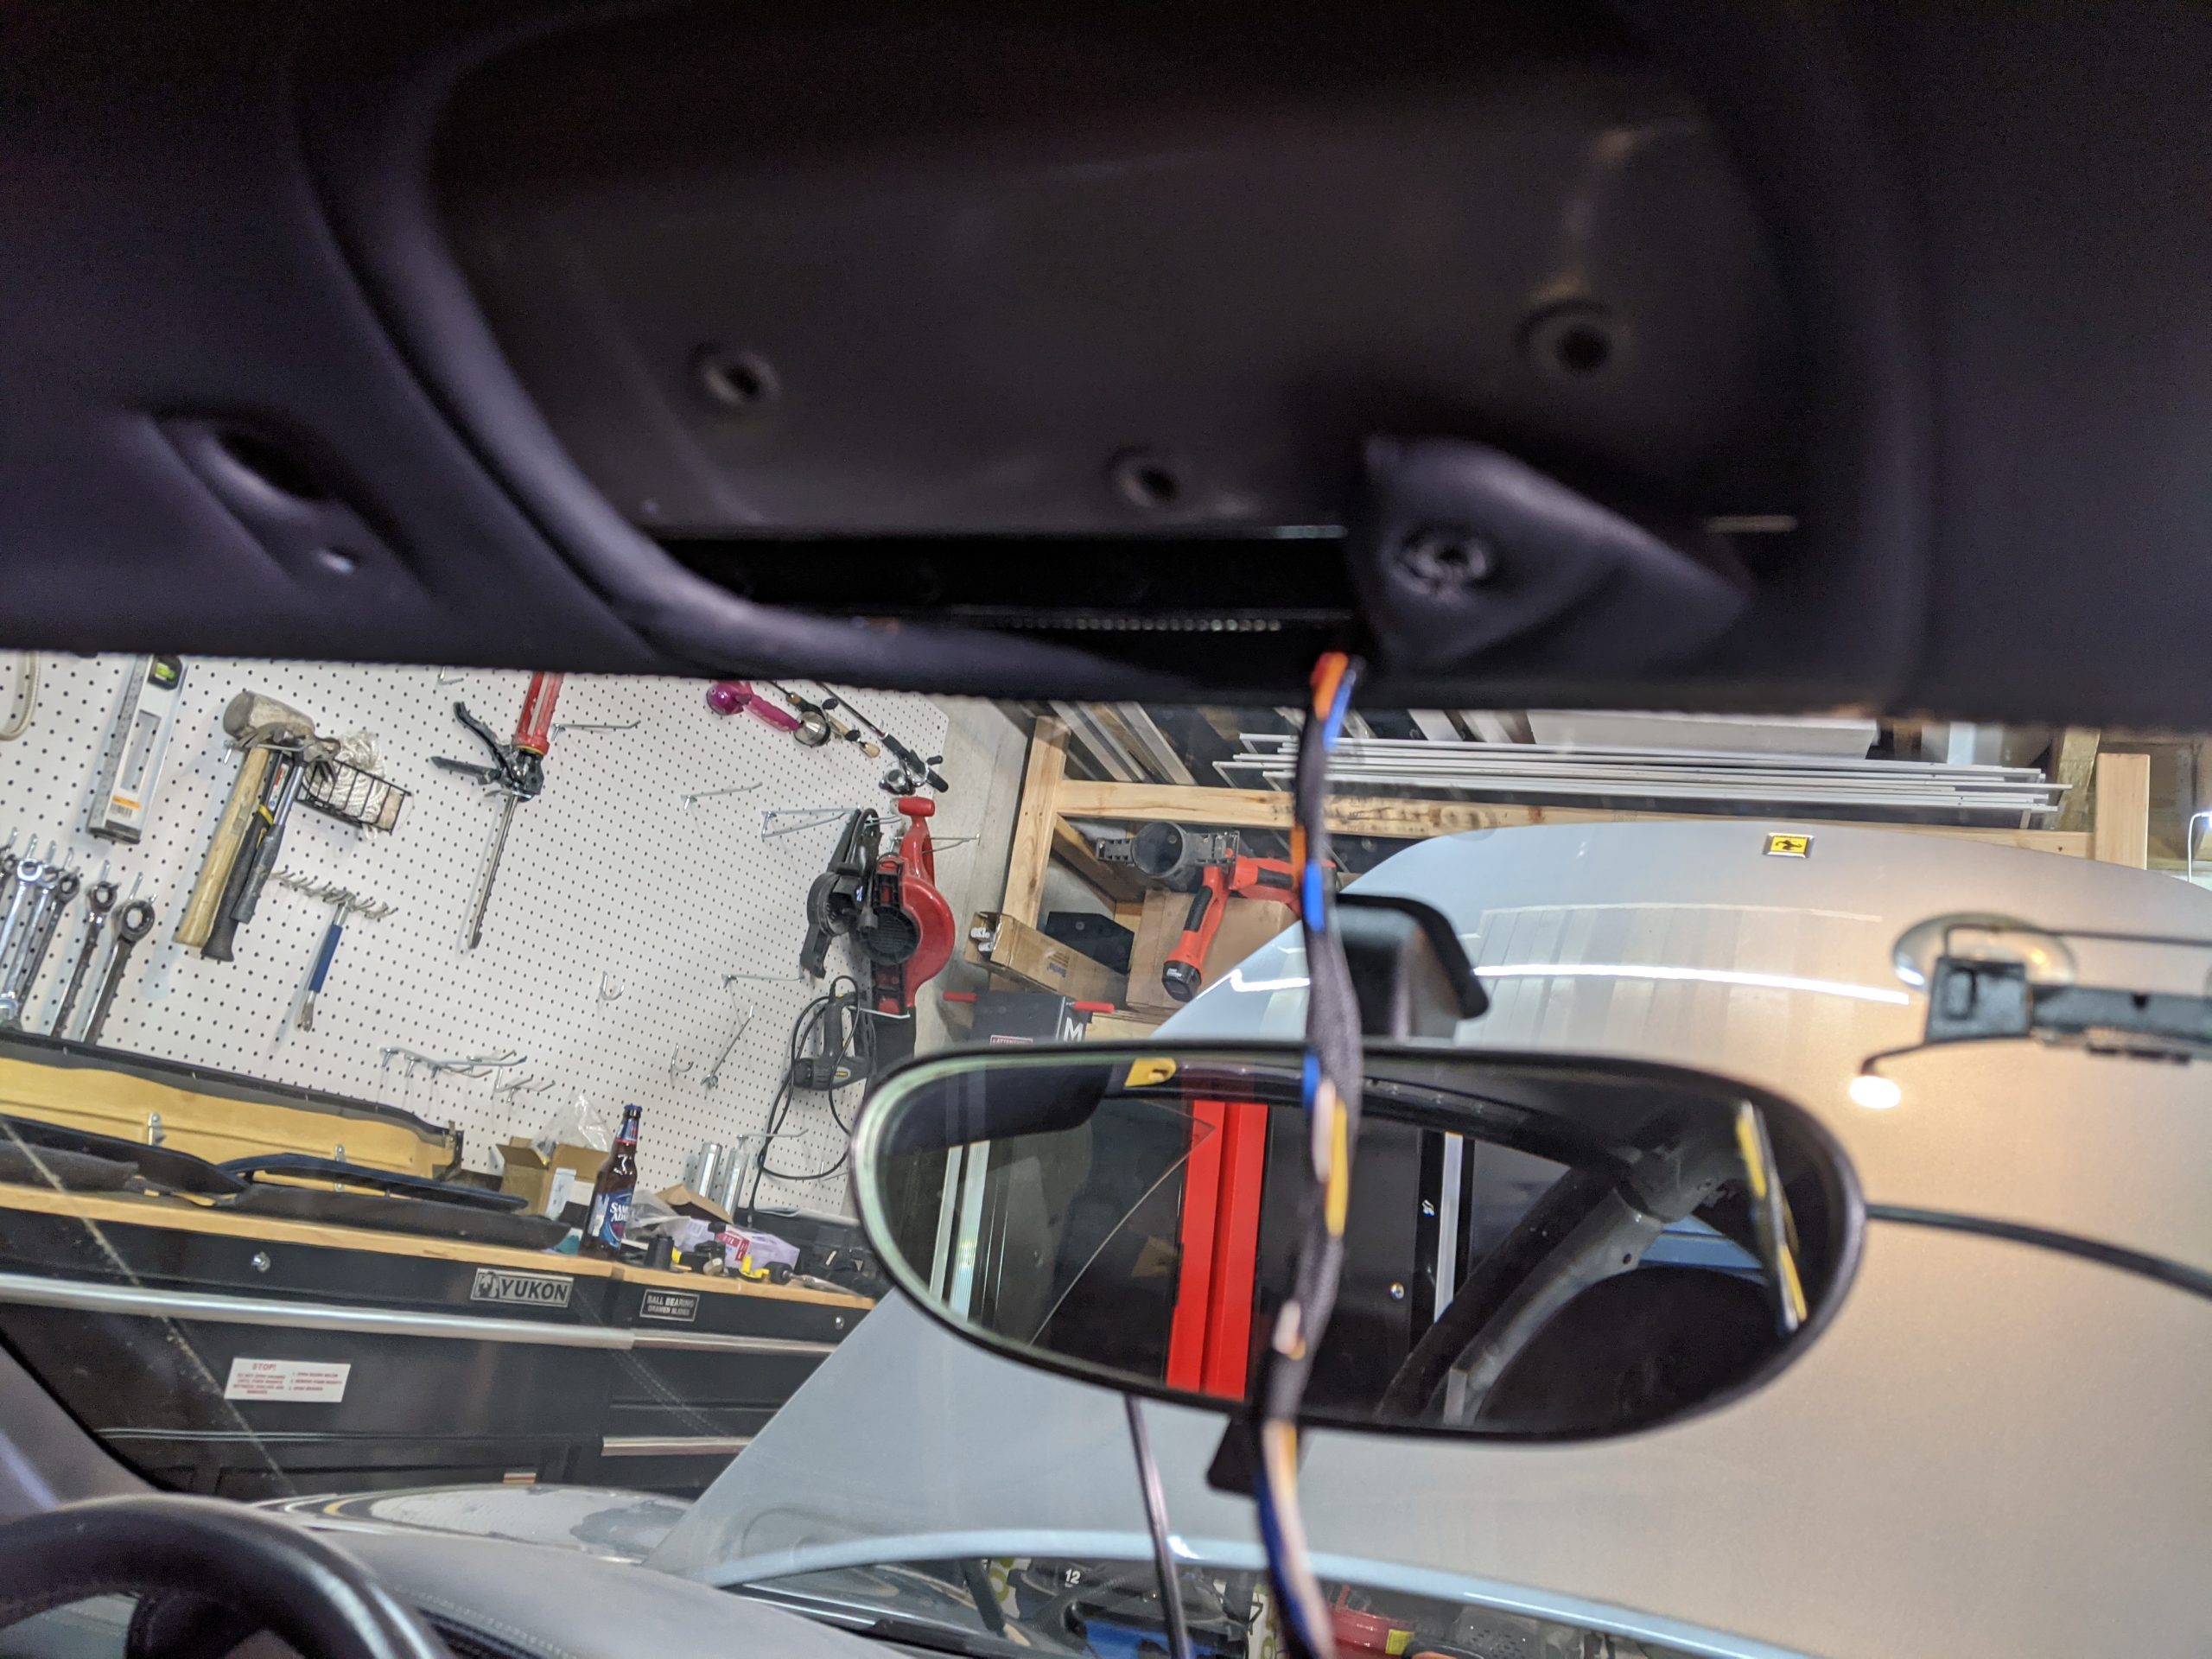
With the dome light and sun visors off, it is time to remove the front trim piece. There is a screw on each side that holds it in place. One of mine had a broken screw hole so I 3D printed a fix prior to re-assembling.

I designed and 3D printed a custom plastic piece to repair the trim screw hole that someone before me broke off. We live in the future.
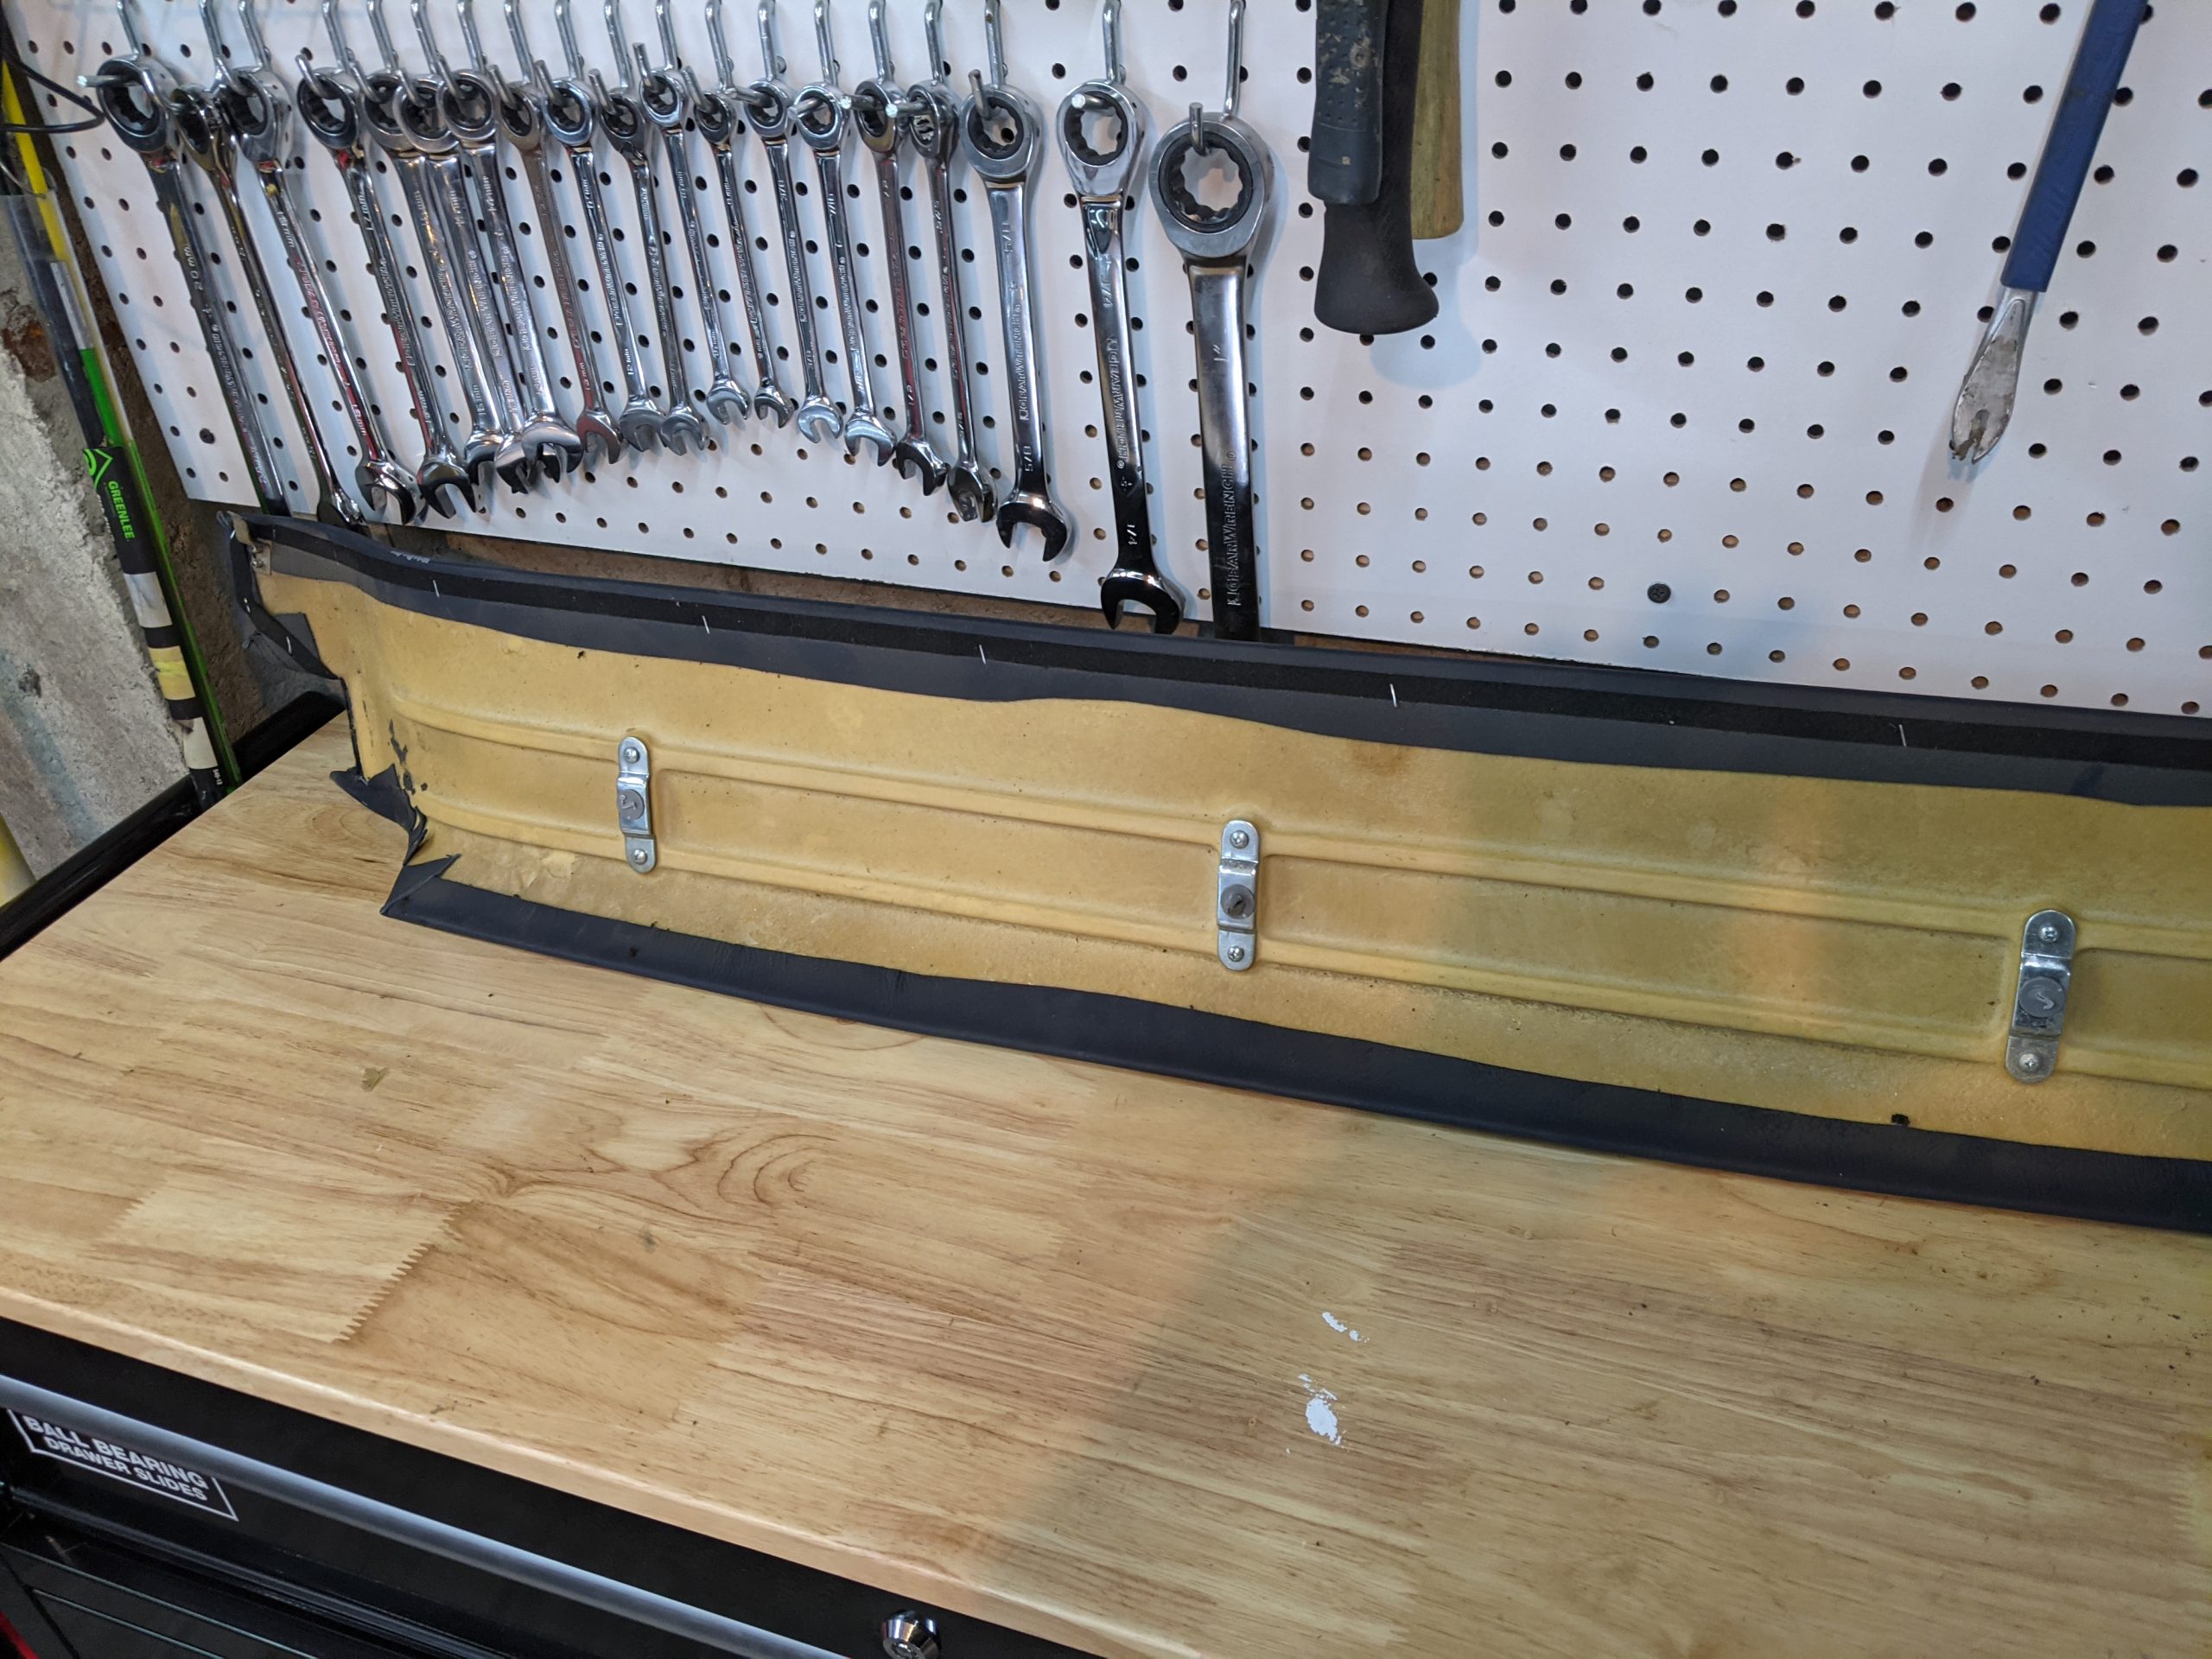
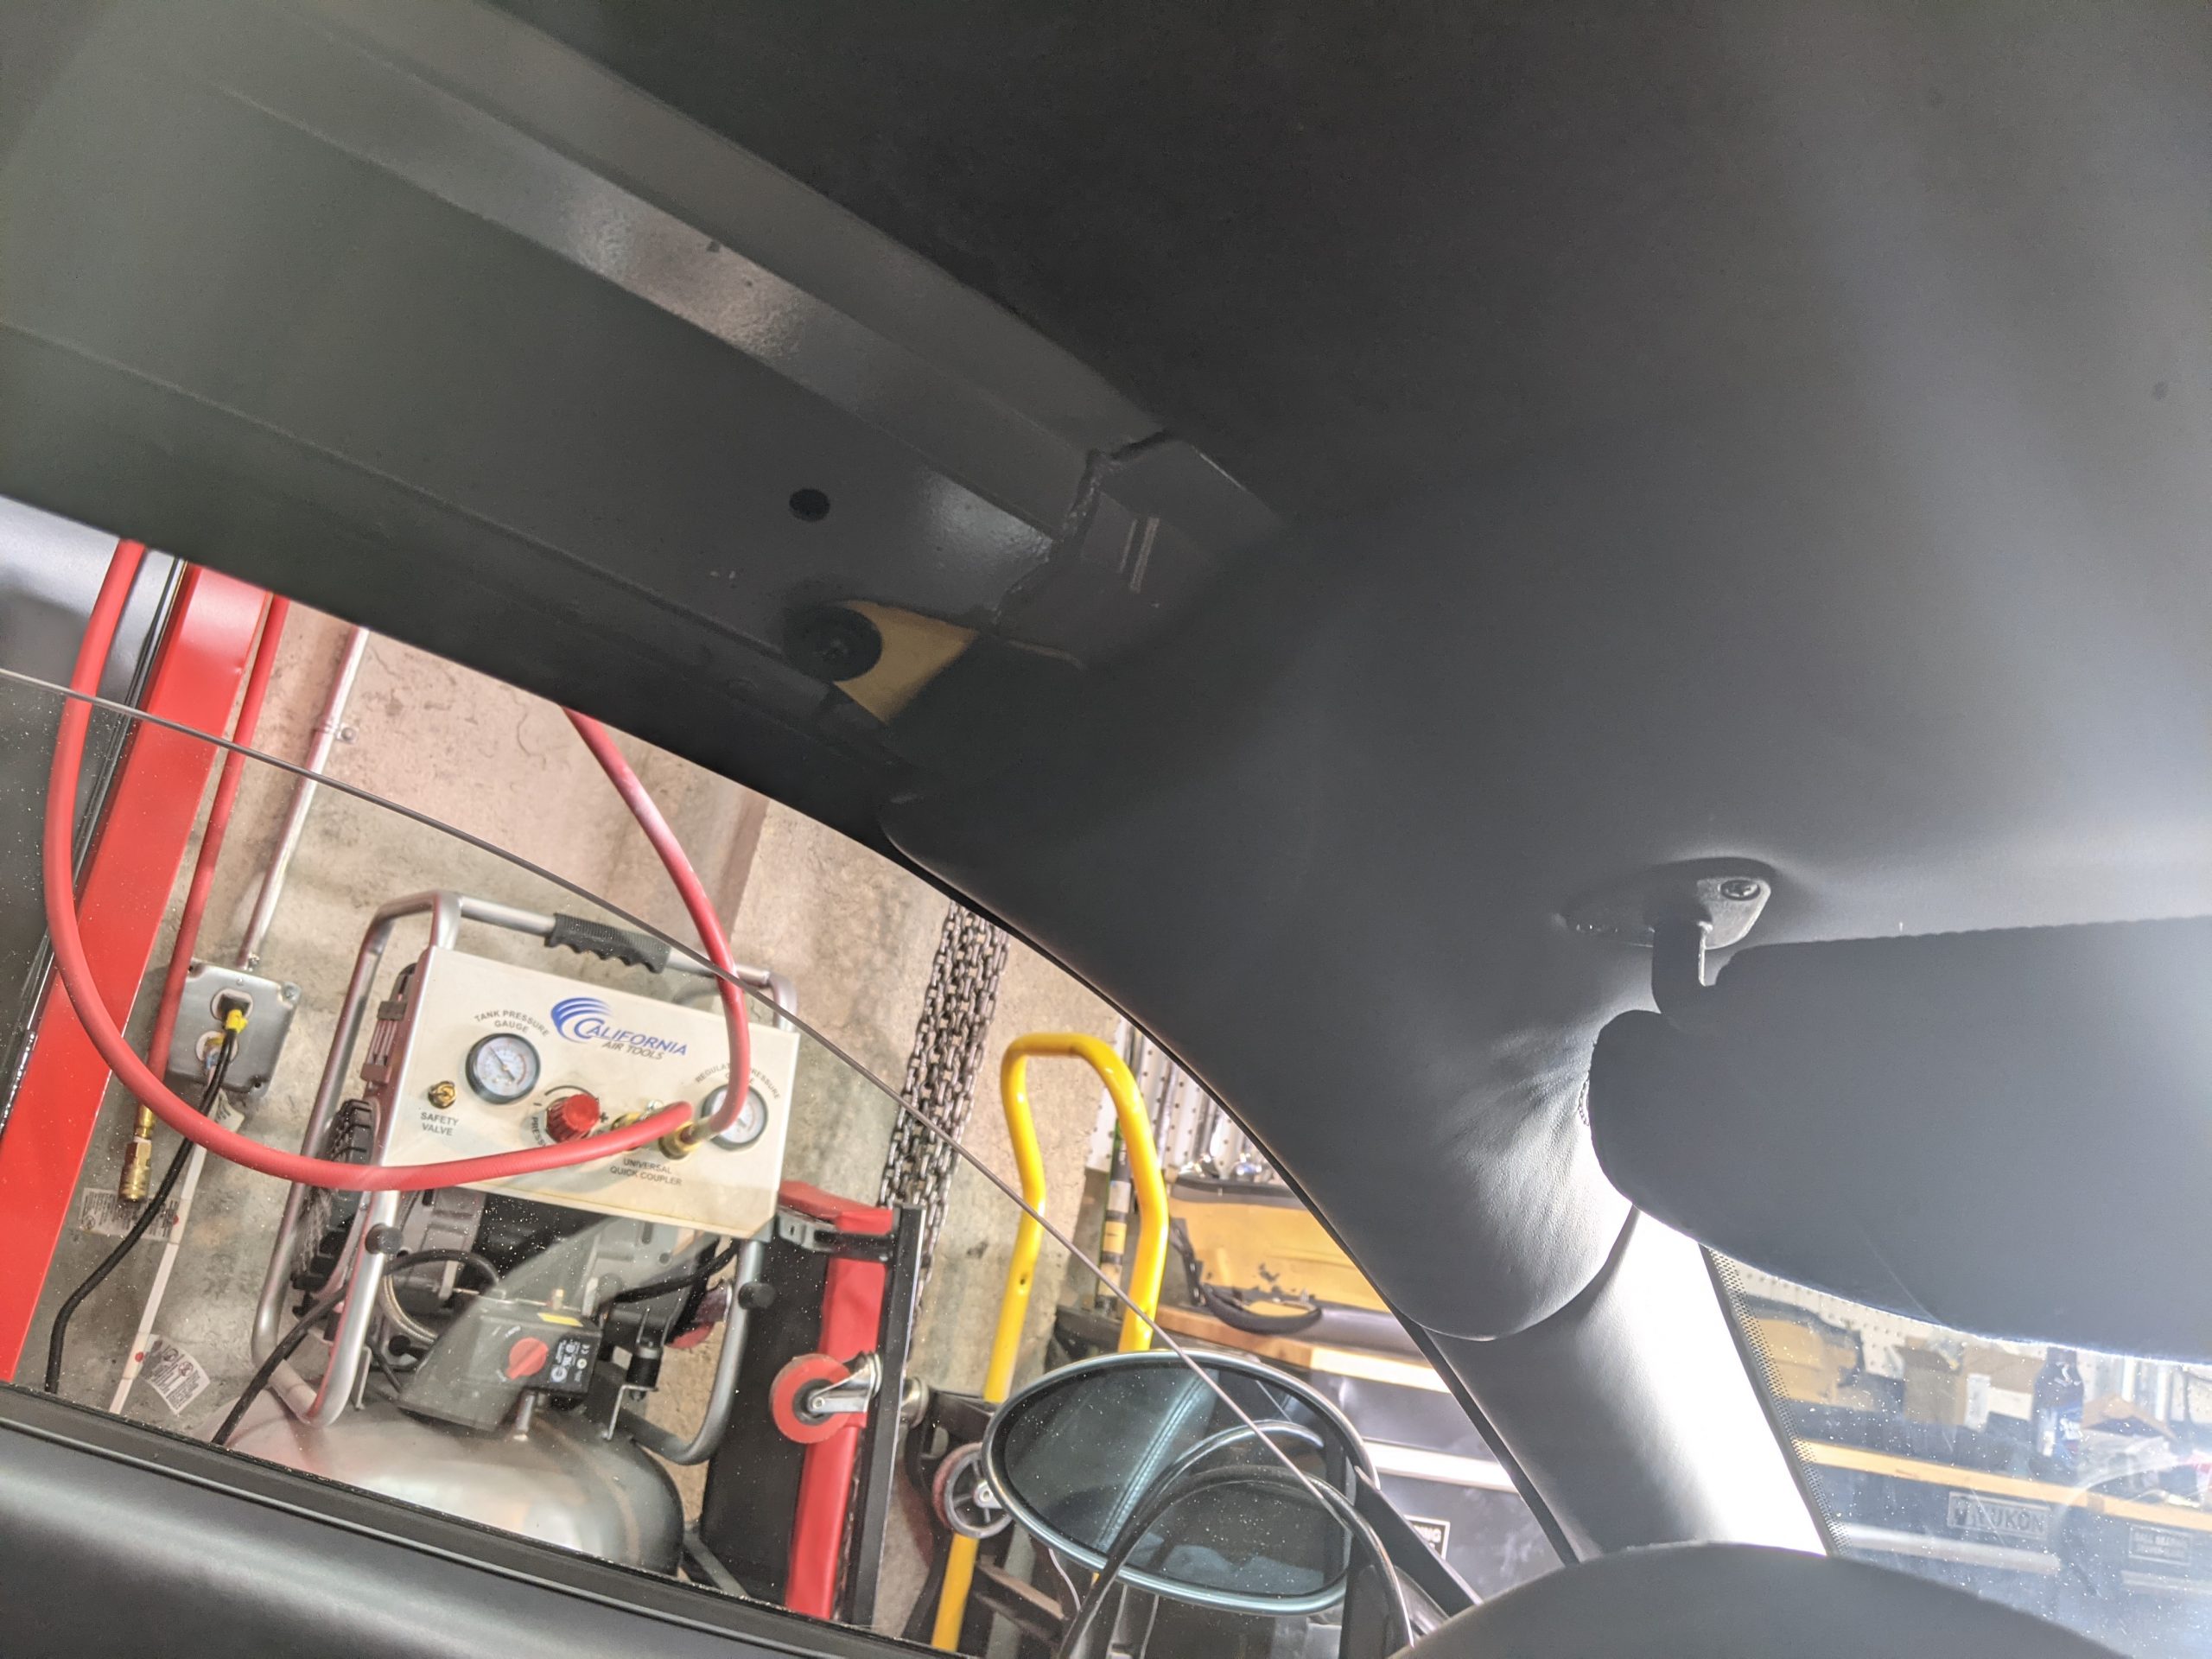
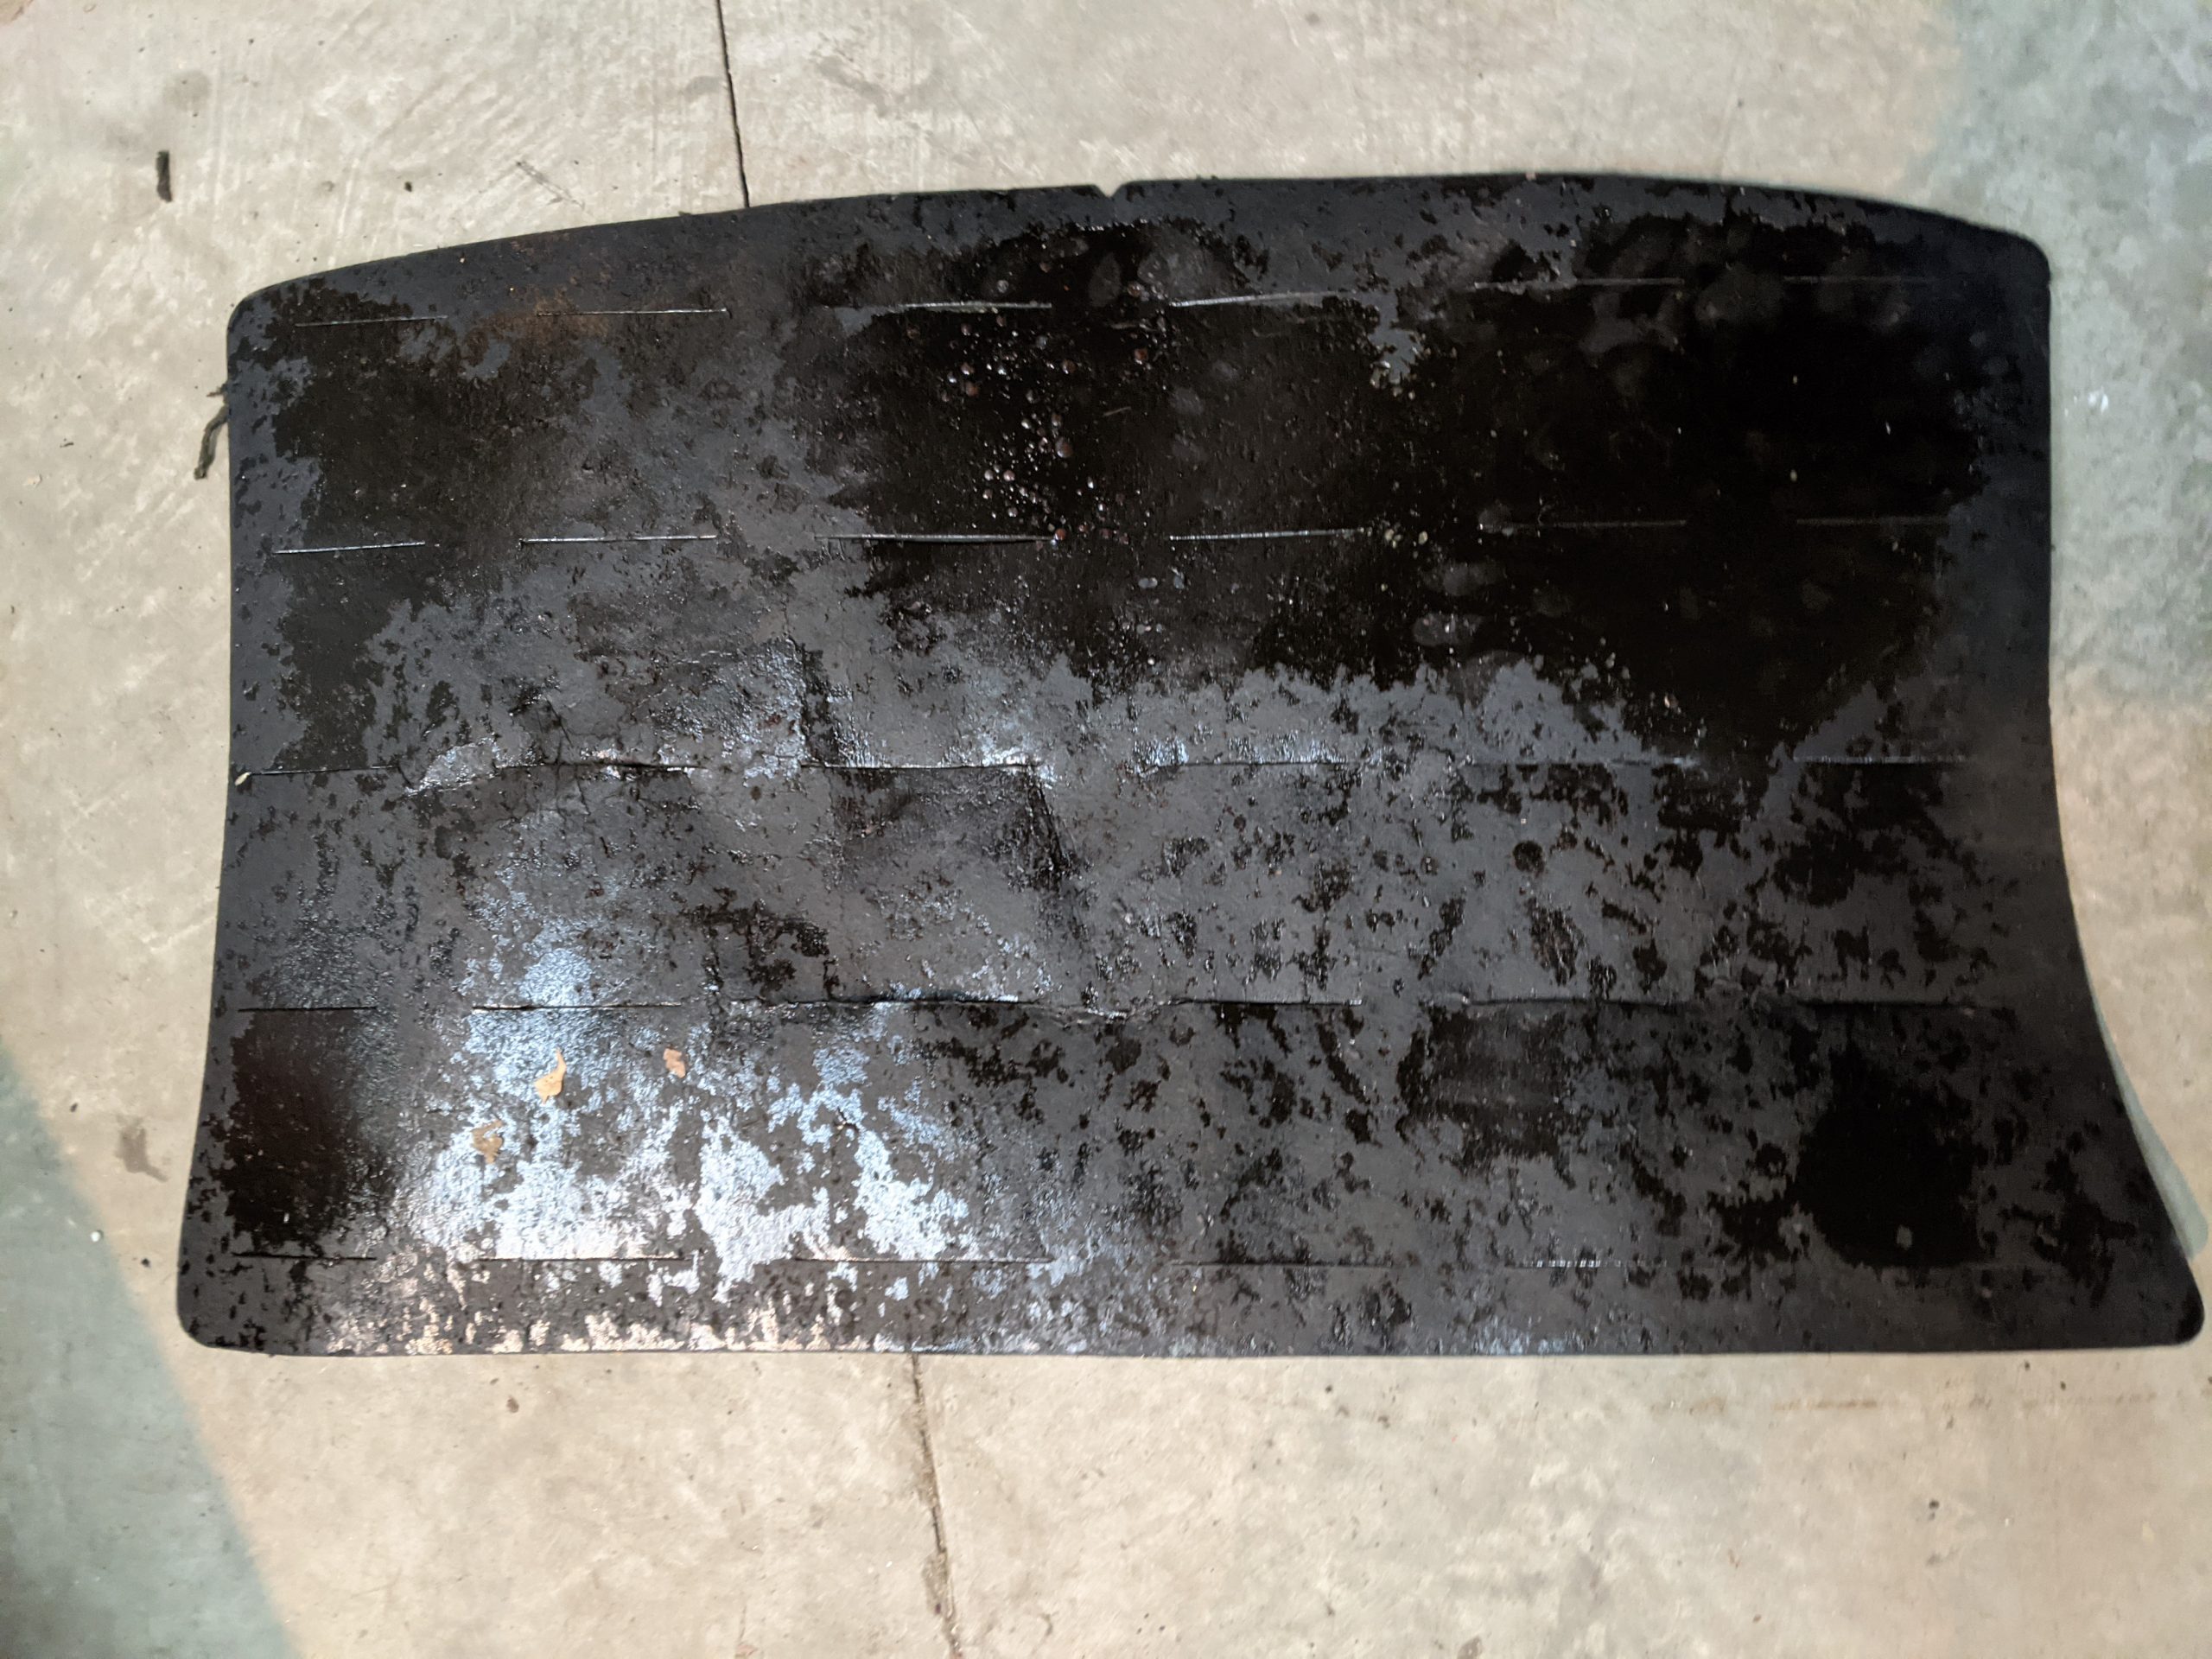
Step 8: Remove what’s left of the old headliner
I found a heat gun to be very useful in this step. Make sure that you use a heat setting that is lower than the melting point of Aluminum, just in case. The technique that I used was to start at a corner, use the heat gun, pull, and repeat. Eventually it all came out in one piece. Although foam got everywhere. Put some plastic sheeting down to protect the inside of your car or you will be in for a big cleanup.
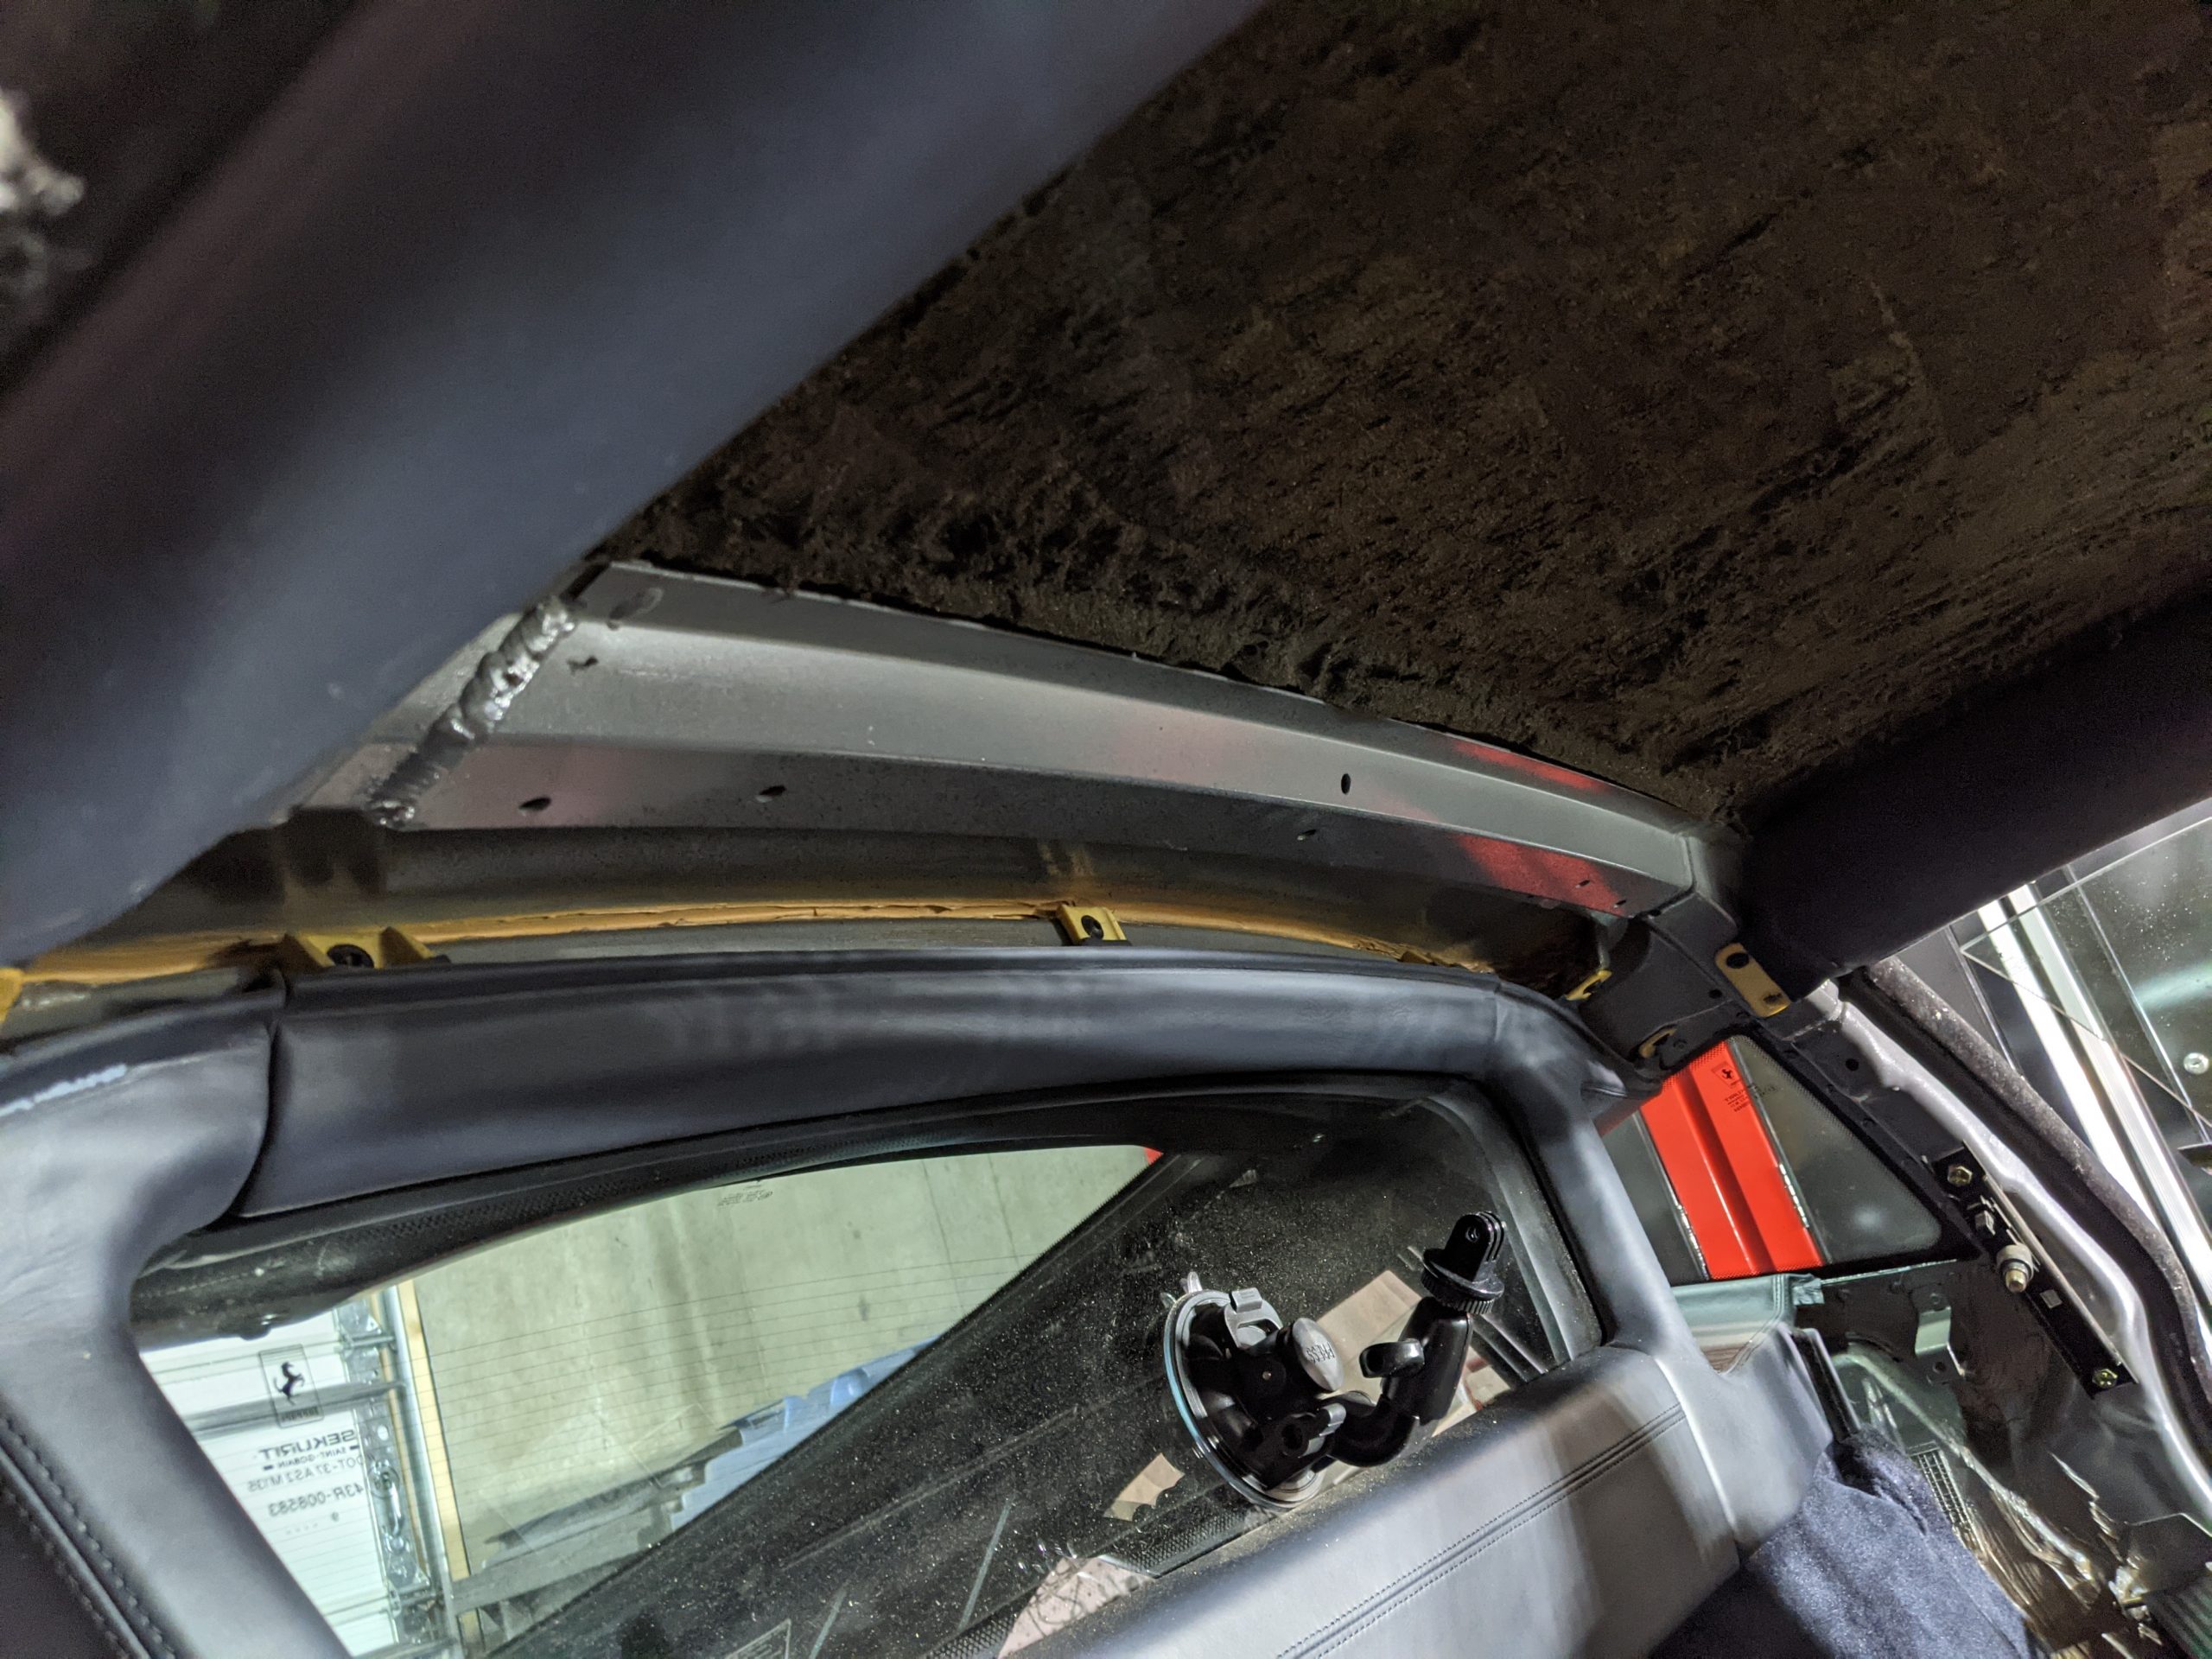
Here’s how it looks once it’s out:

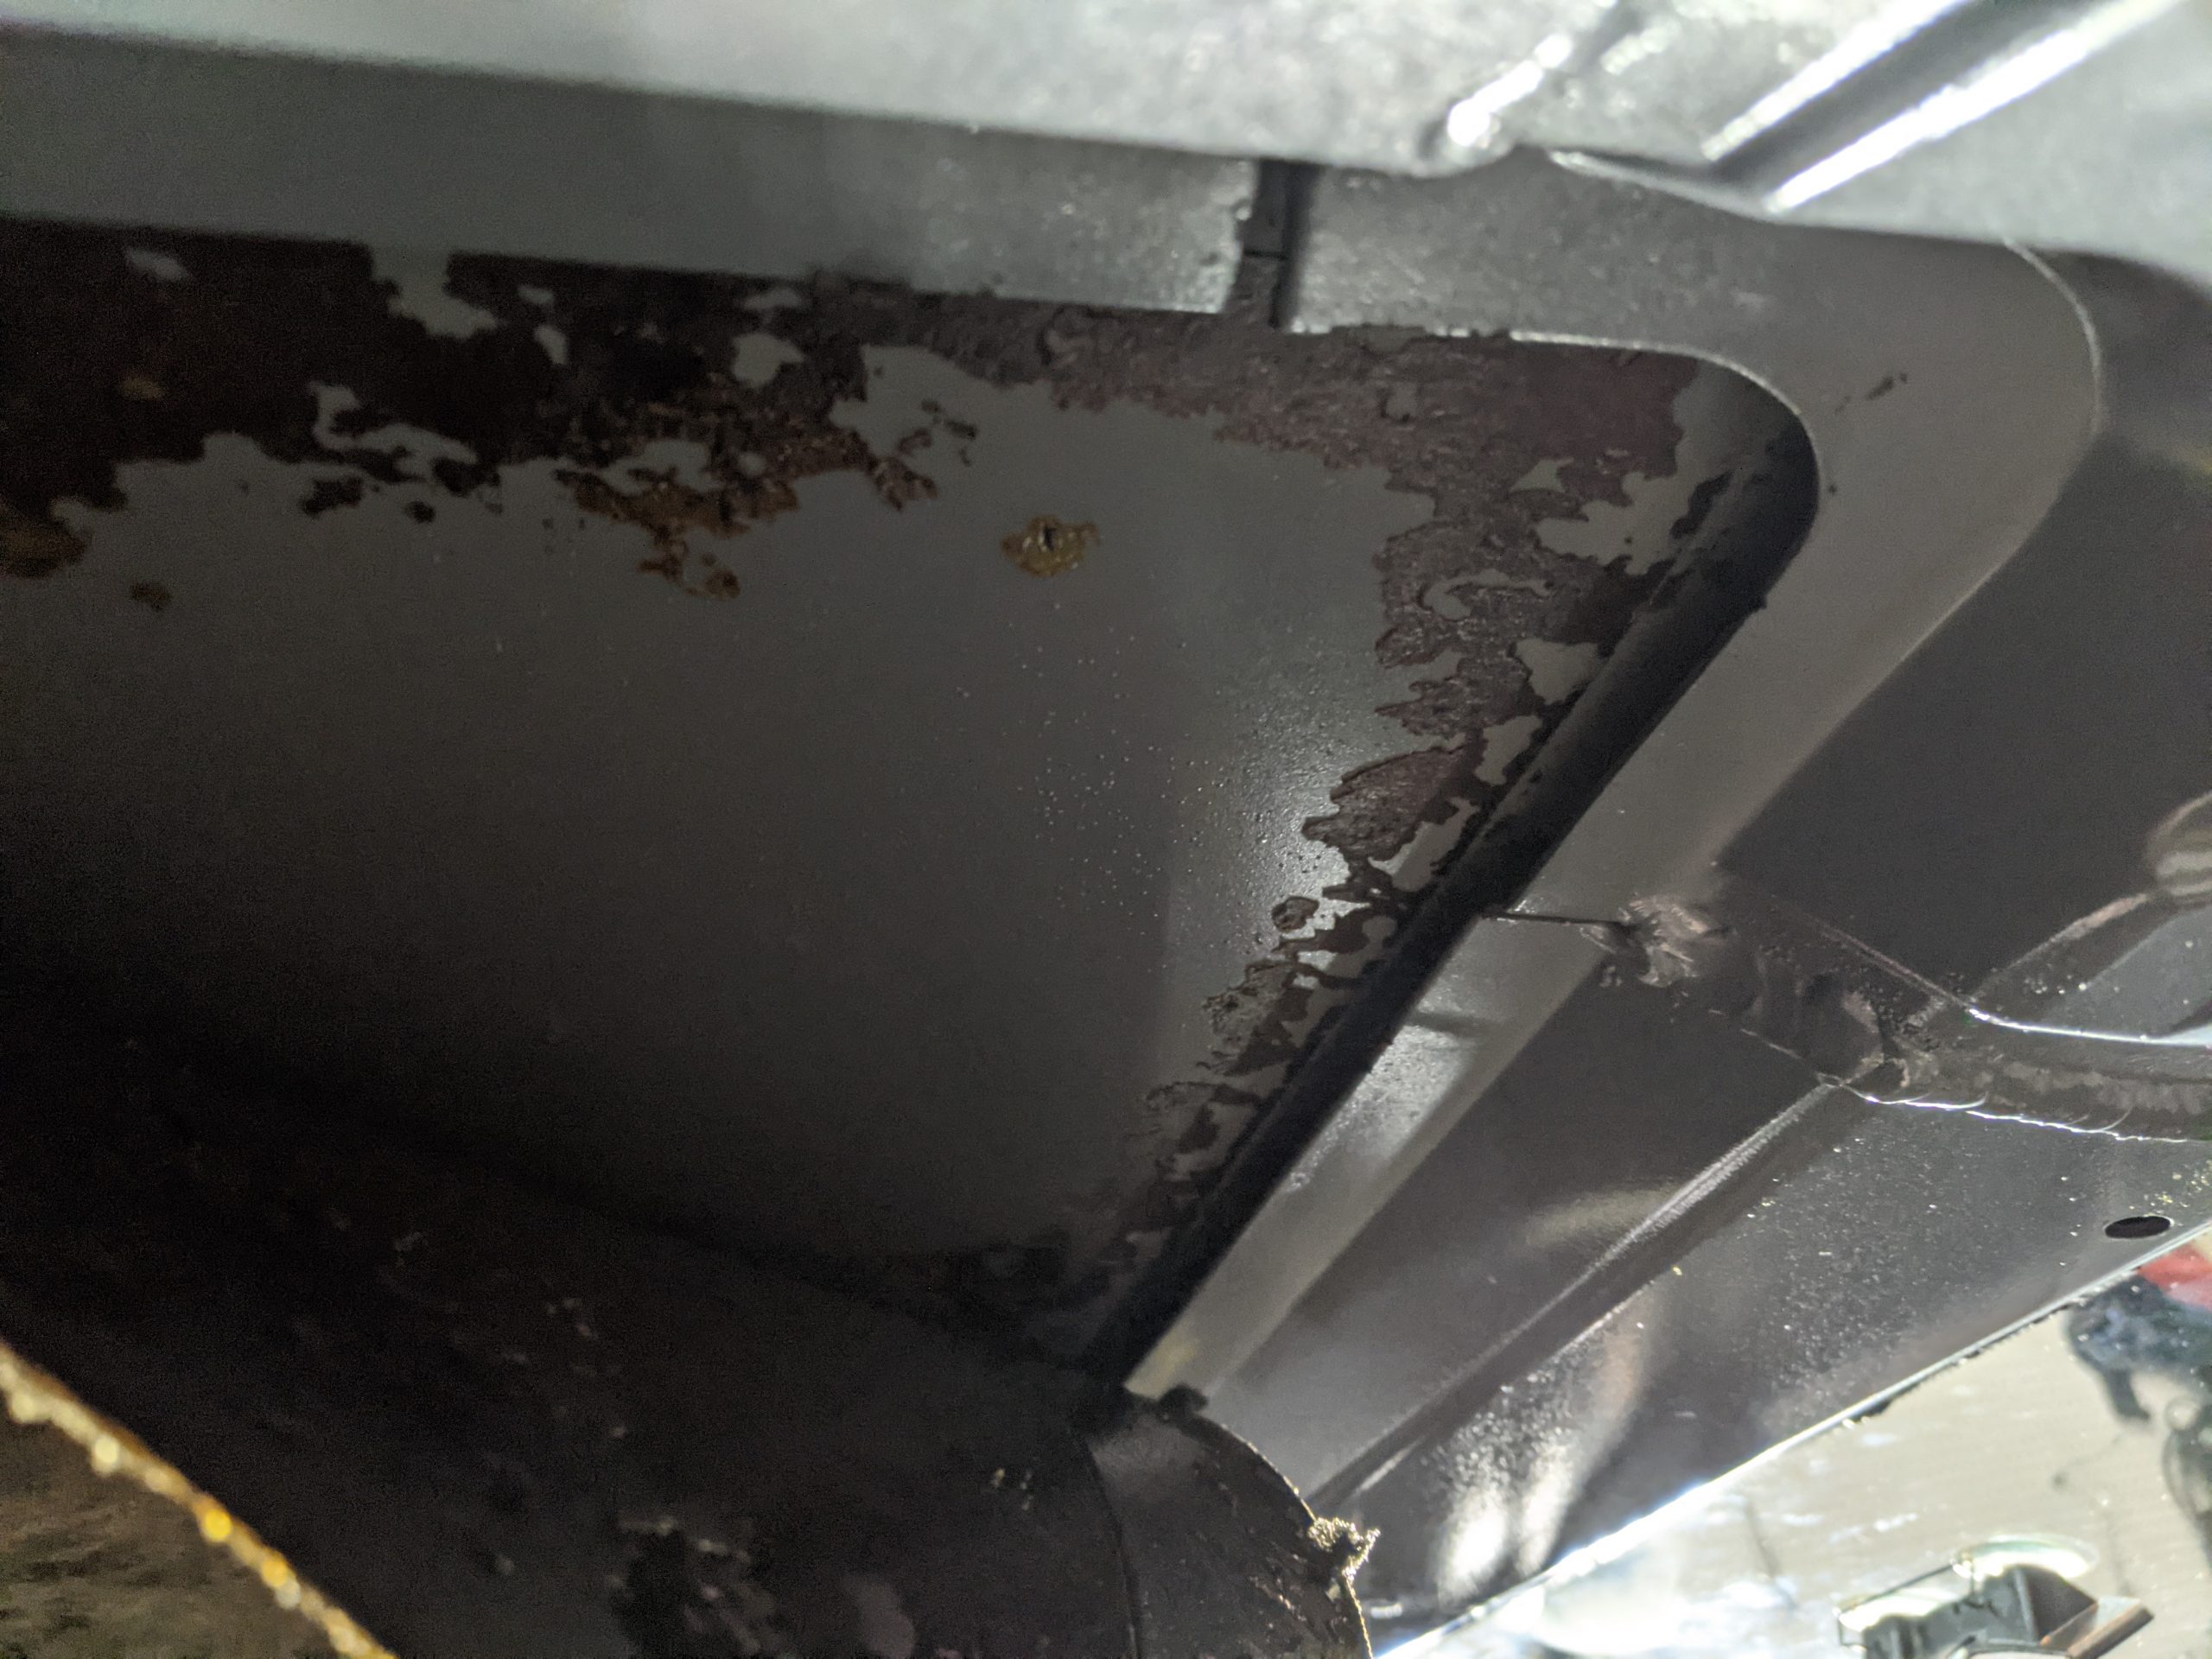
Step 9: Remove the nasty glue from the roof
What worked for me here is 3M adhesive remover, goof-off, and a couple of putty knives. Don’t get goof-off on your leather. I taped plastic sheeting on the entire interior of the car.

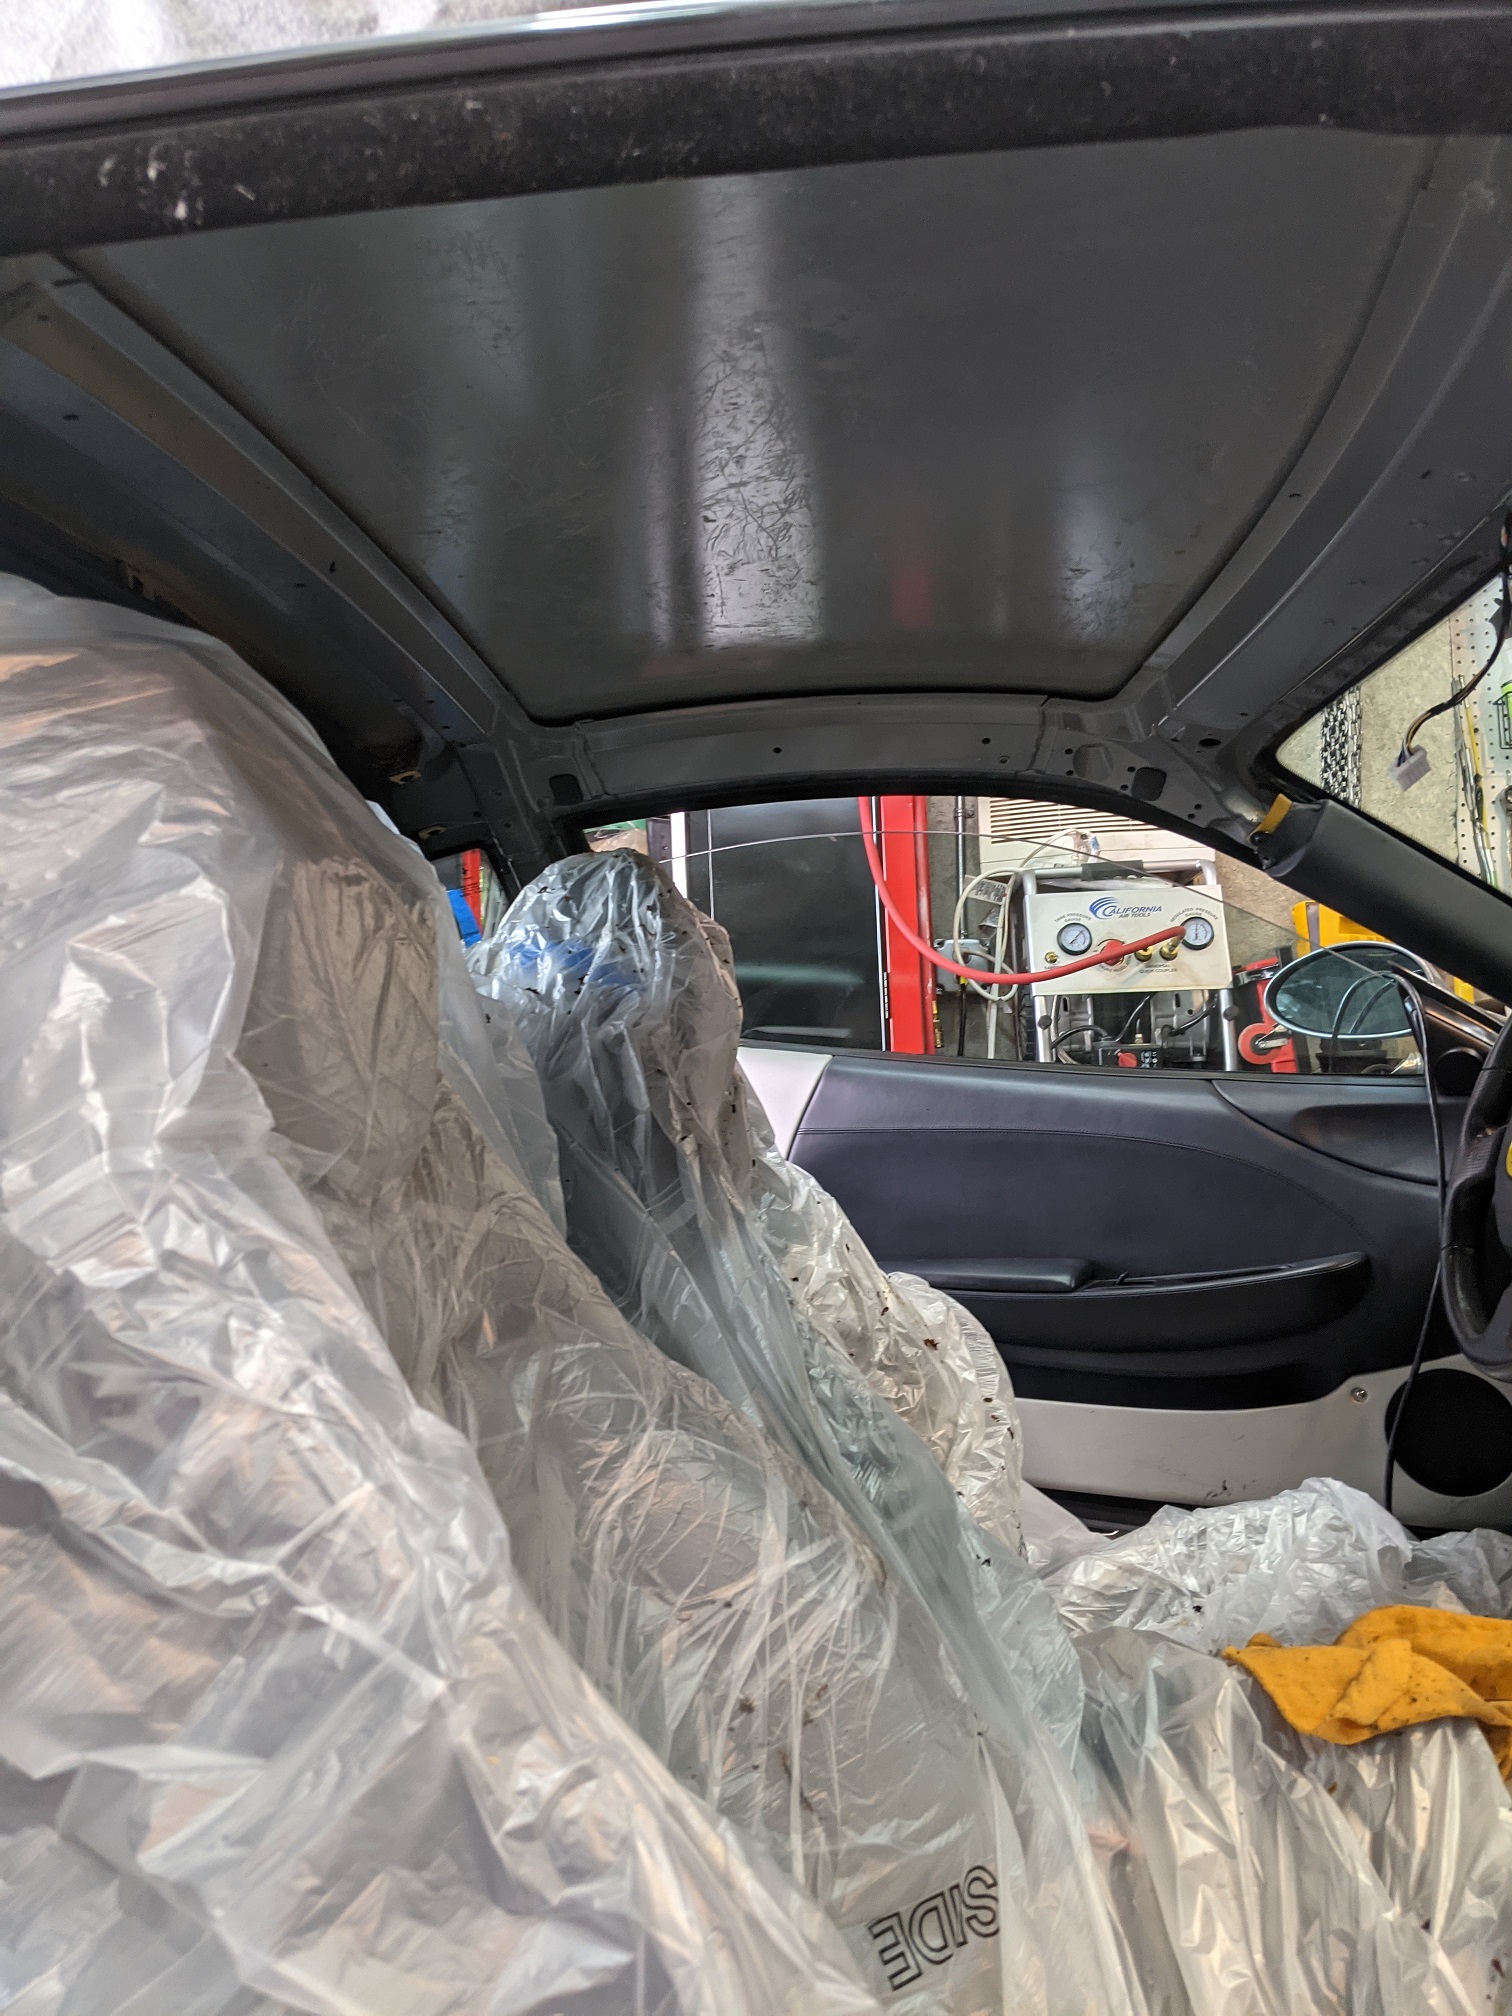
Now we have a clean roof to glue our new headliner onto
Next up, part 2 – making the new headliner